book / e-reader sleeve tutorial
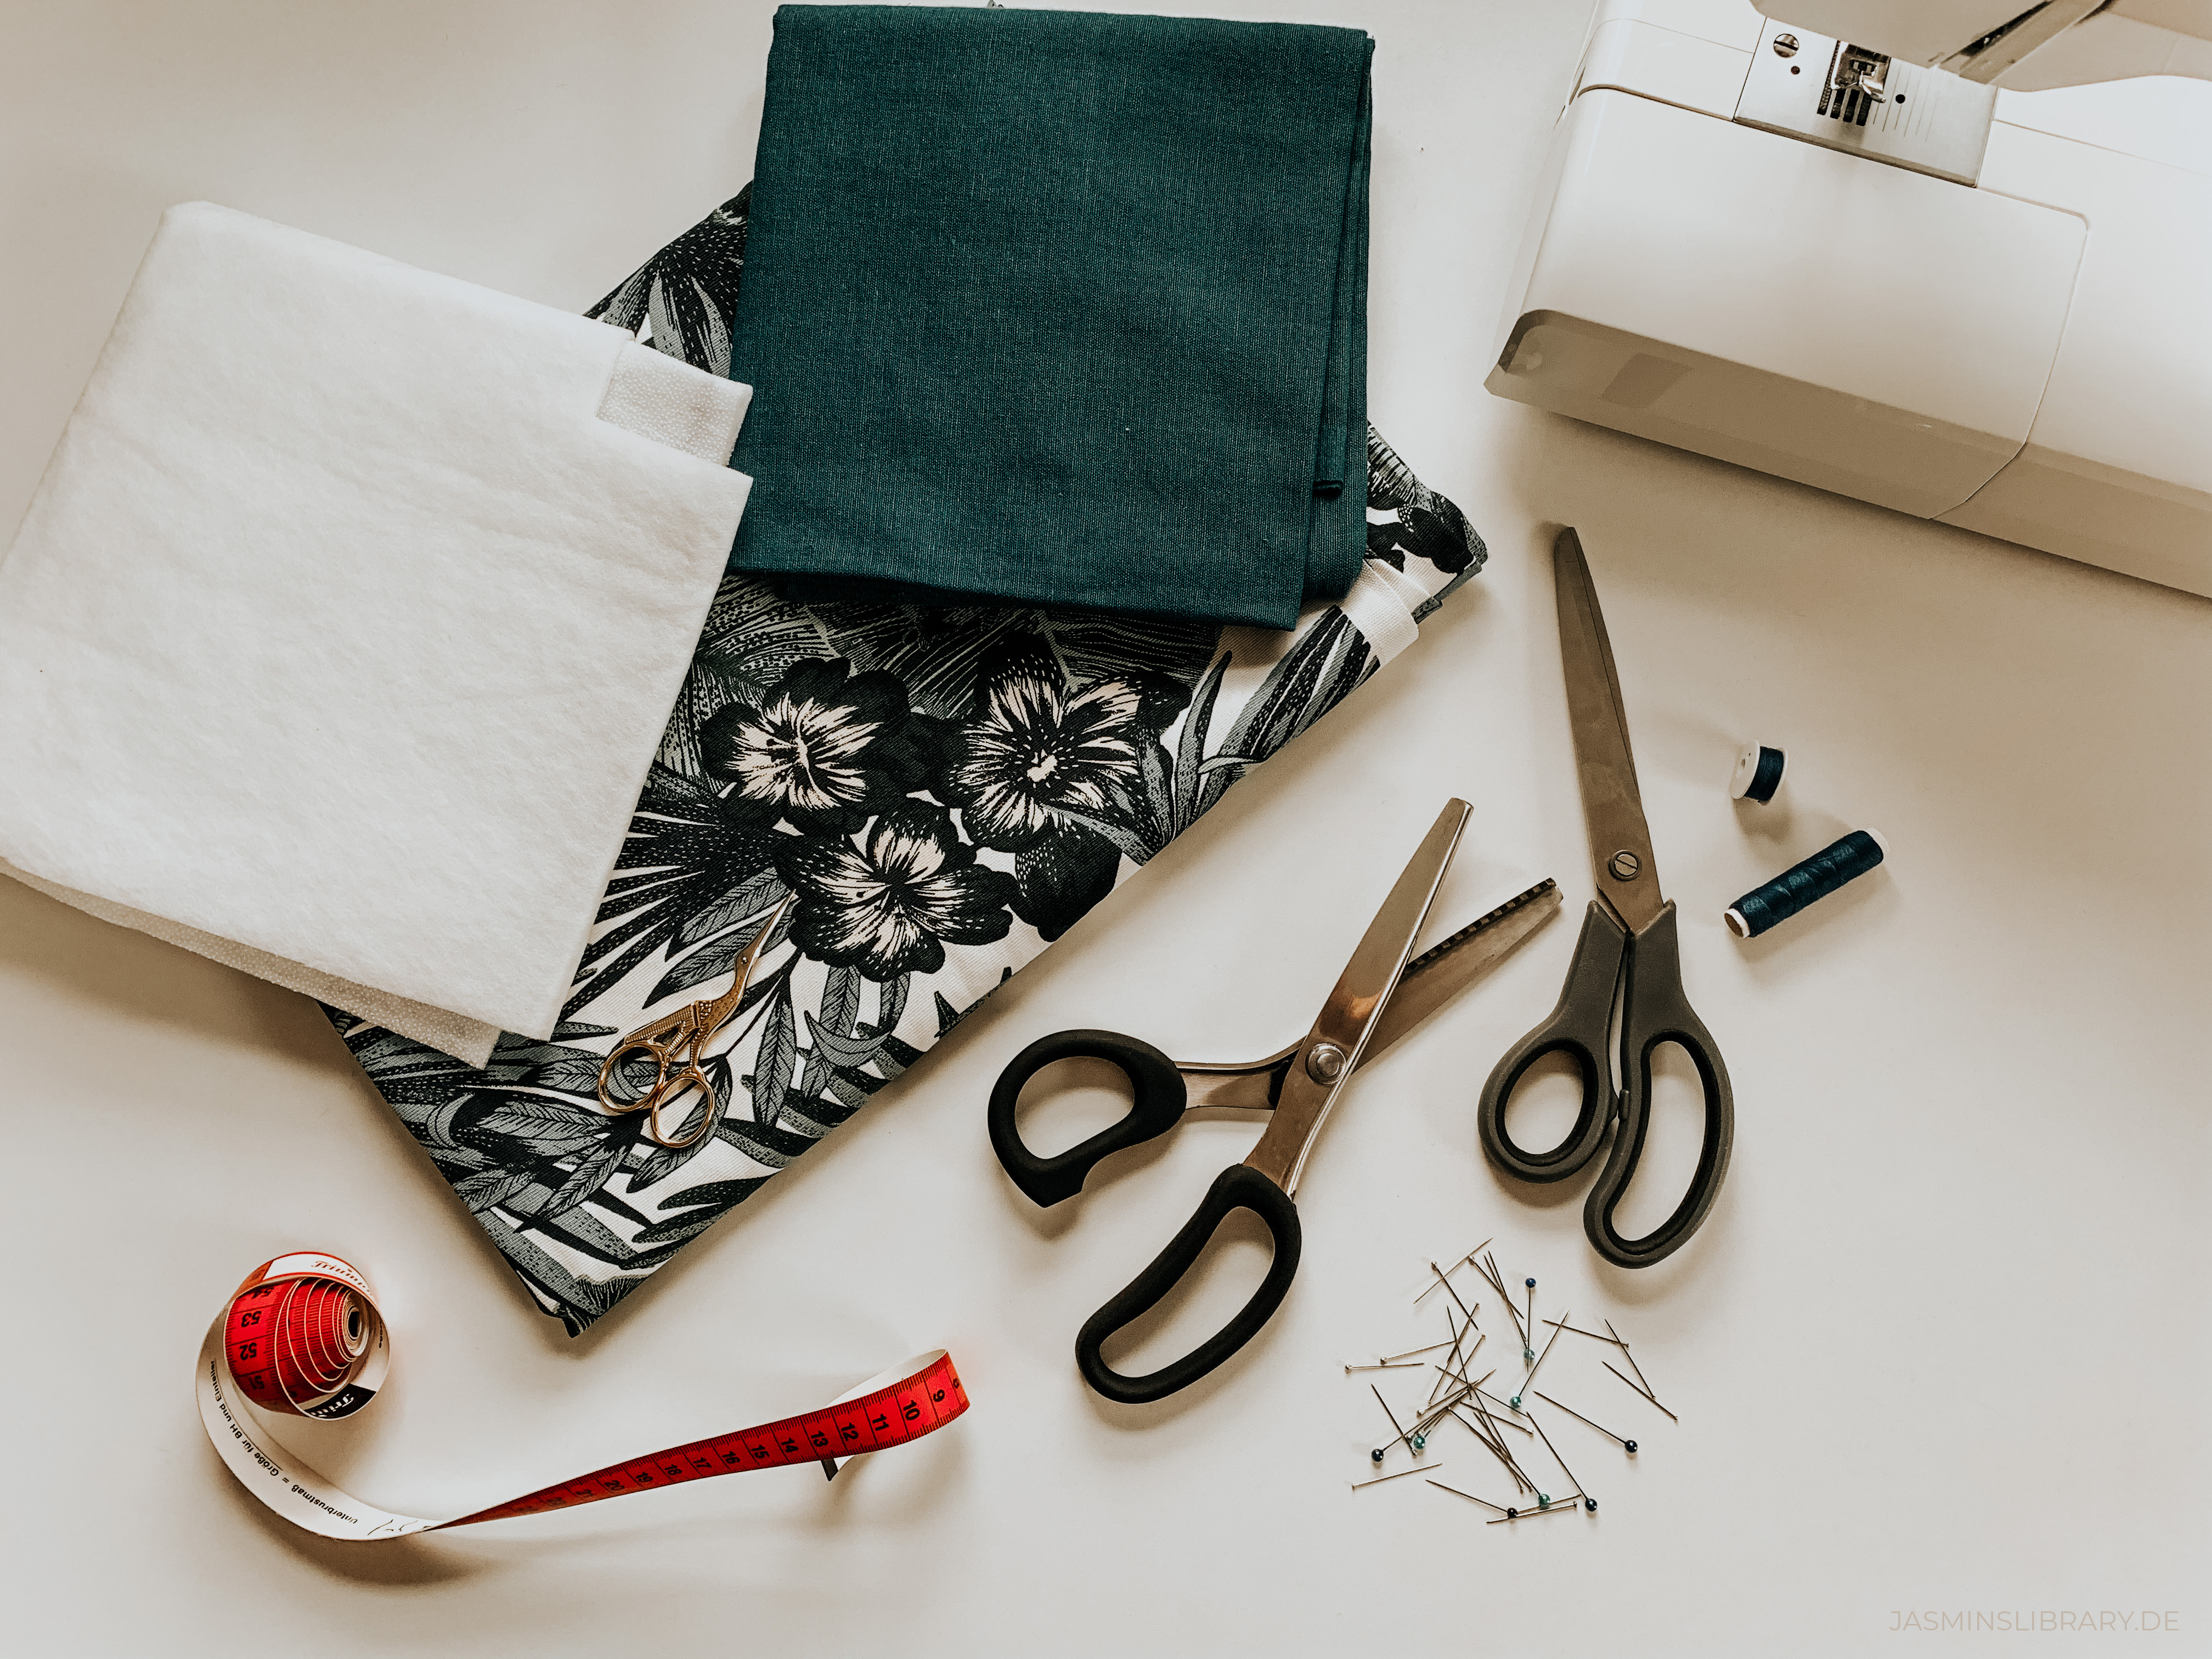
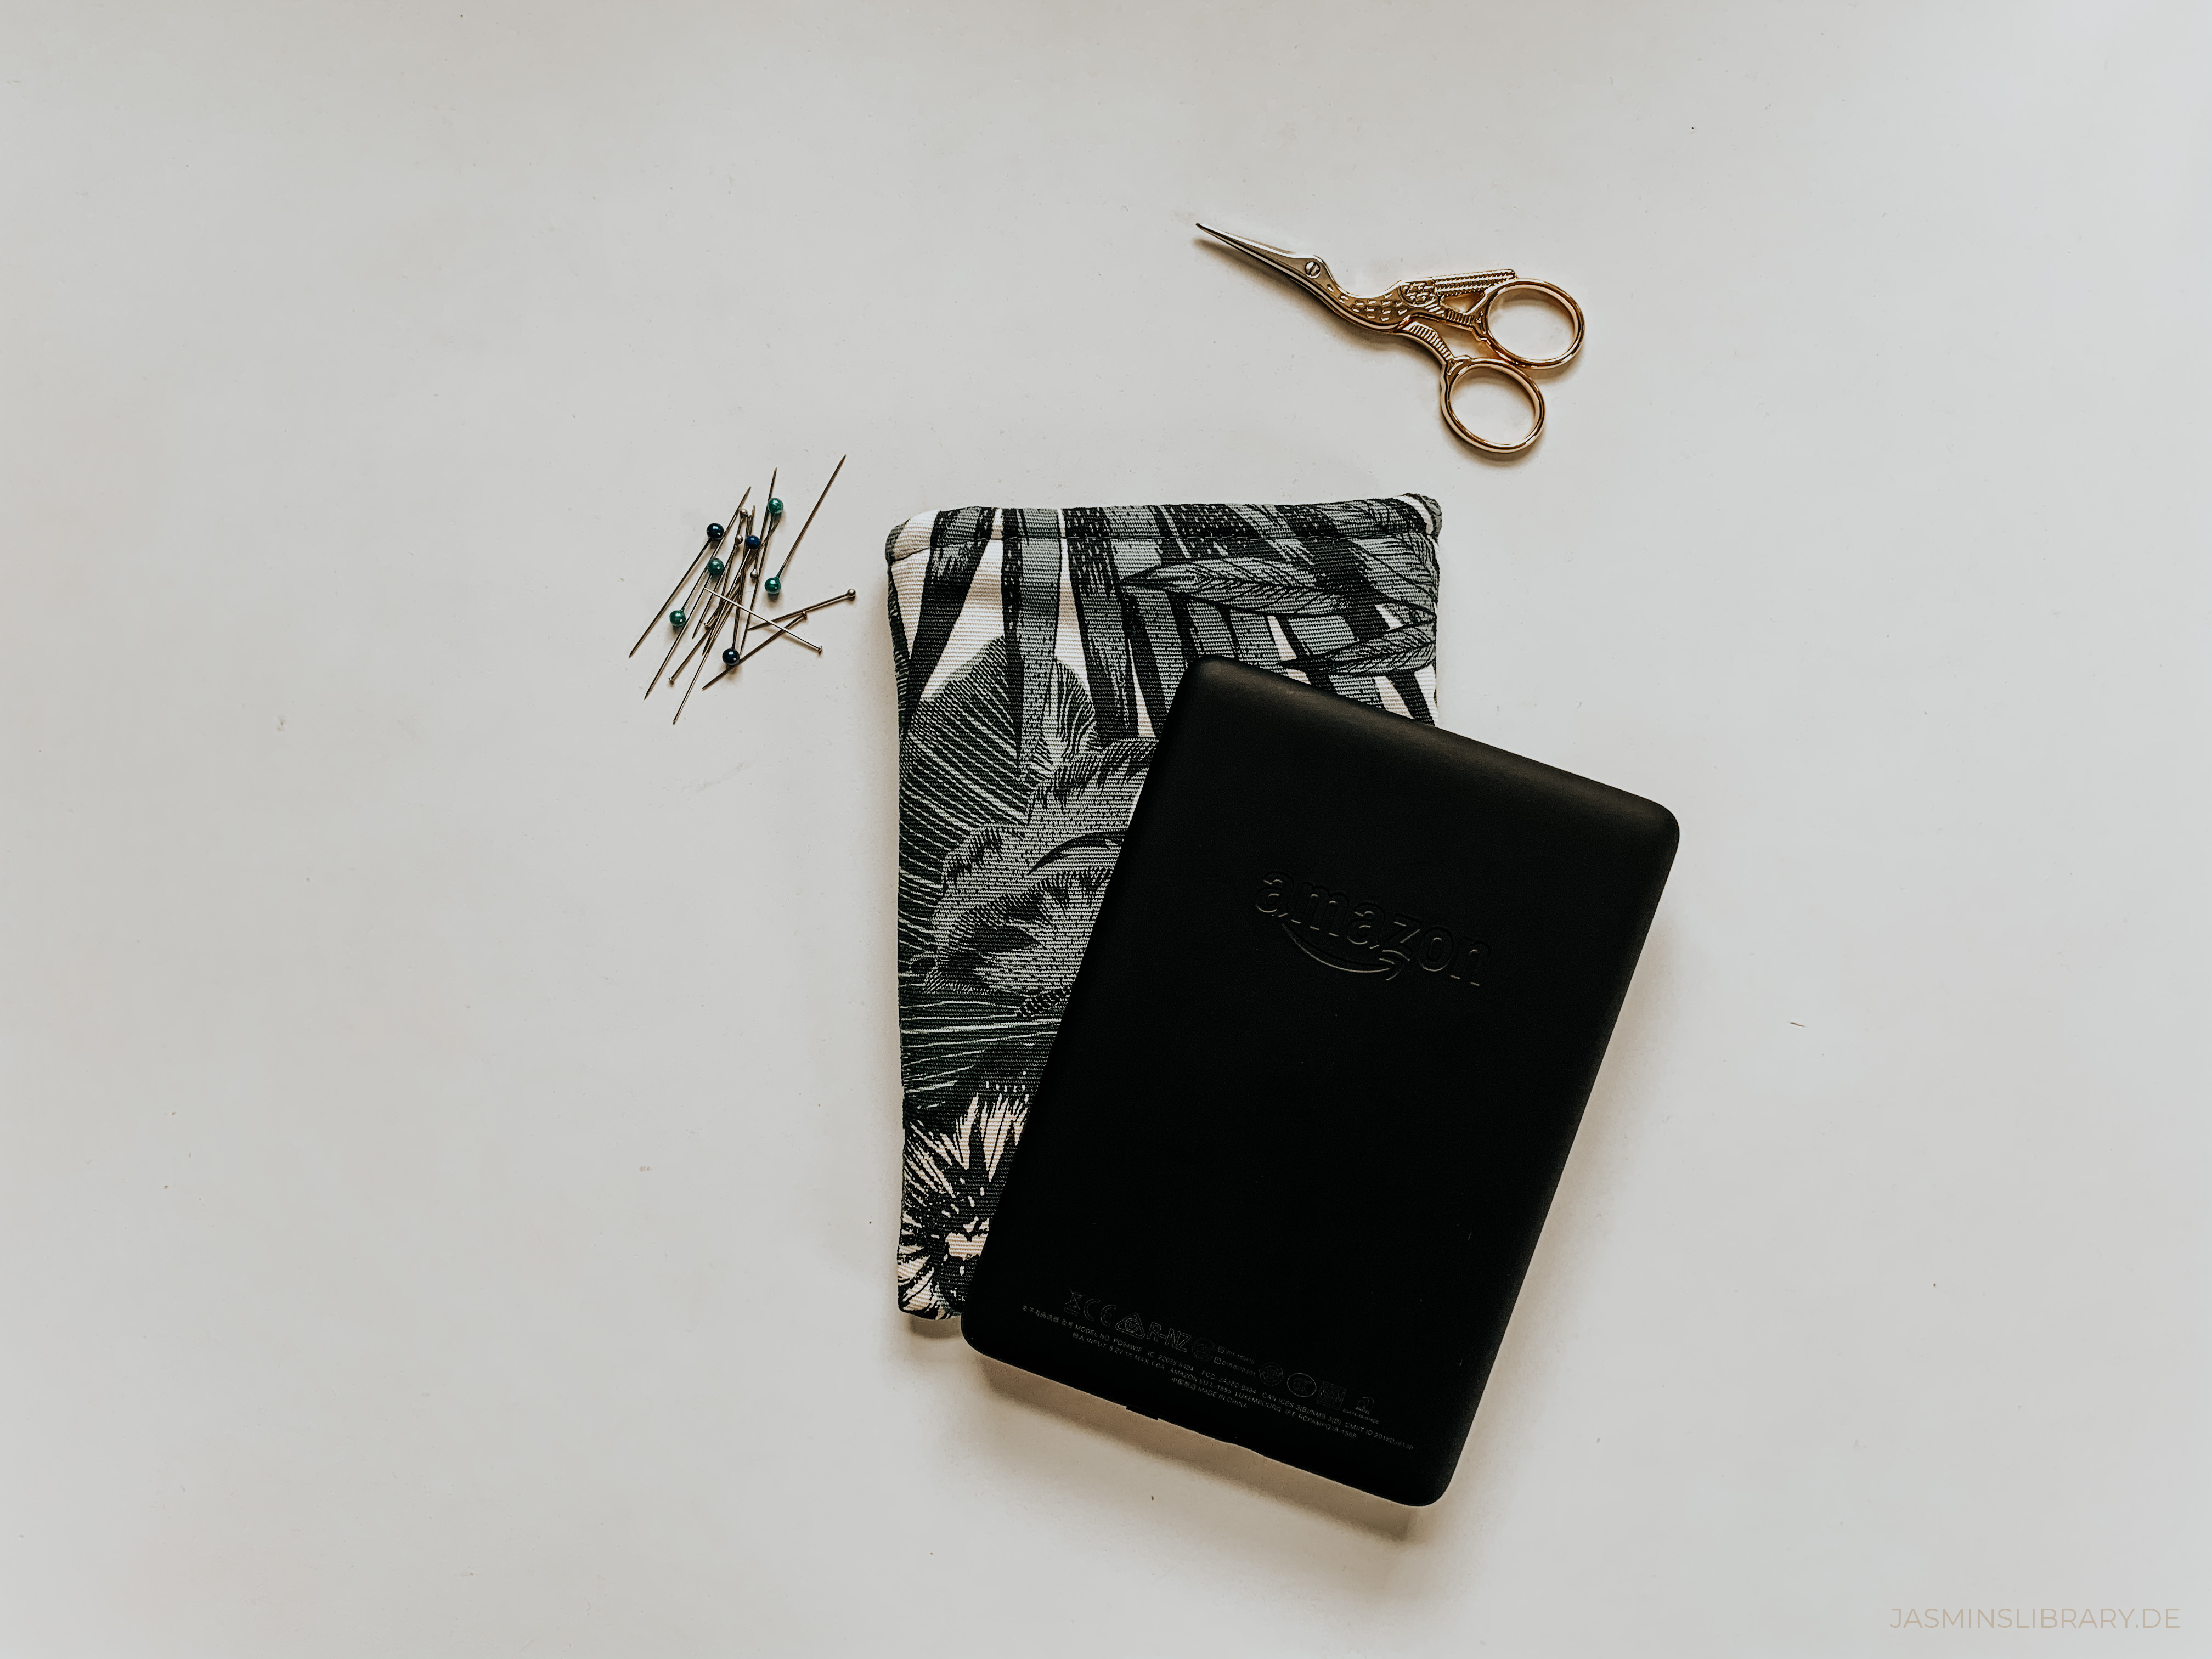
You will need:
– fabric of your choice (mine is from IKEA)
– sewing thread in the colour of your choice
– scissors
– fusible wadding
– measuring tape (or something similar)
– pins
– iron
– sewing machine (optional, but helps a lot!)
– a book or e-reader of your own
Step 1:
Measure the book or e-reader you’d like to sew the sleeve for. In this case, I sewed a sleeve for my kindle. Measure the length, width and height of it and note it down. Now estimate the dimensions of the fabric you need with the following formula:
width = your measured width + half the height + 3cm (I like to give myself 2cm of seam allowance and one more centimetre just in case. I’m no pro, so I have more room for mistakes.)
Now use the same formula for your length (length = your measured length + half the height + 3cm). With that, you have the dimensions of the fabric you need. For my Kindle, I used pieces of 15 x 20,2cm.
Step 2:
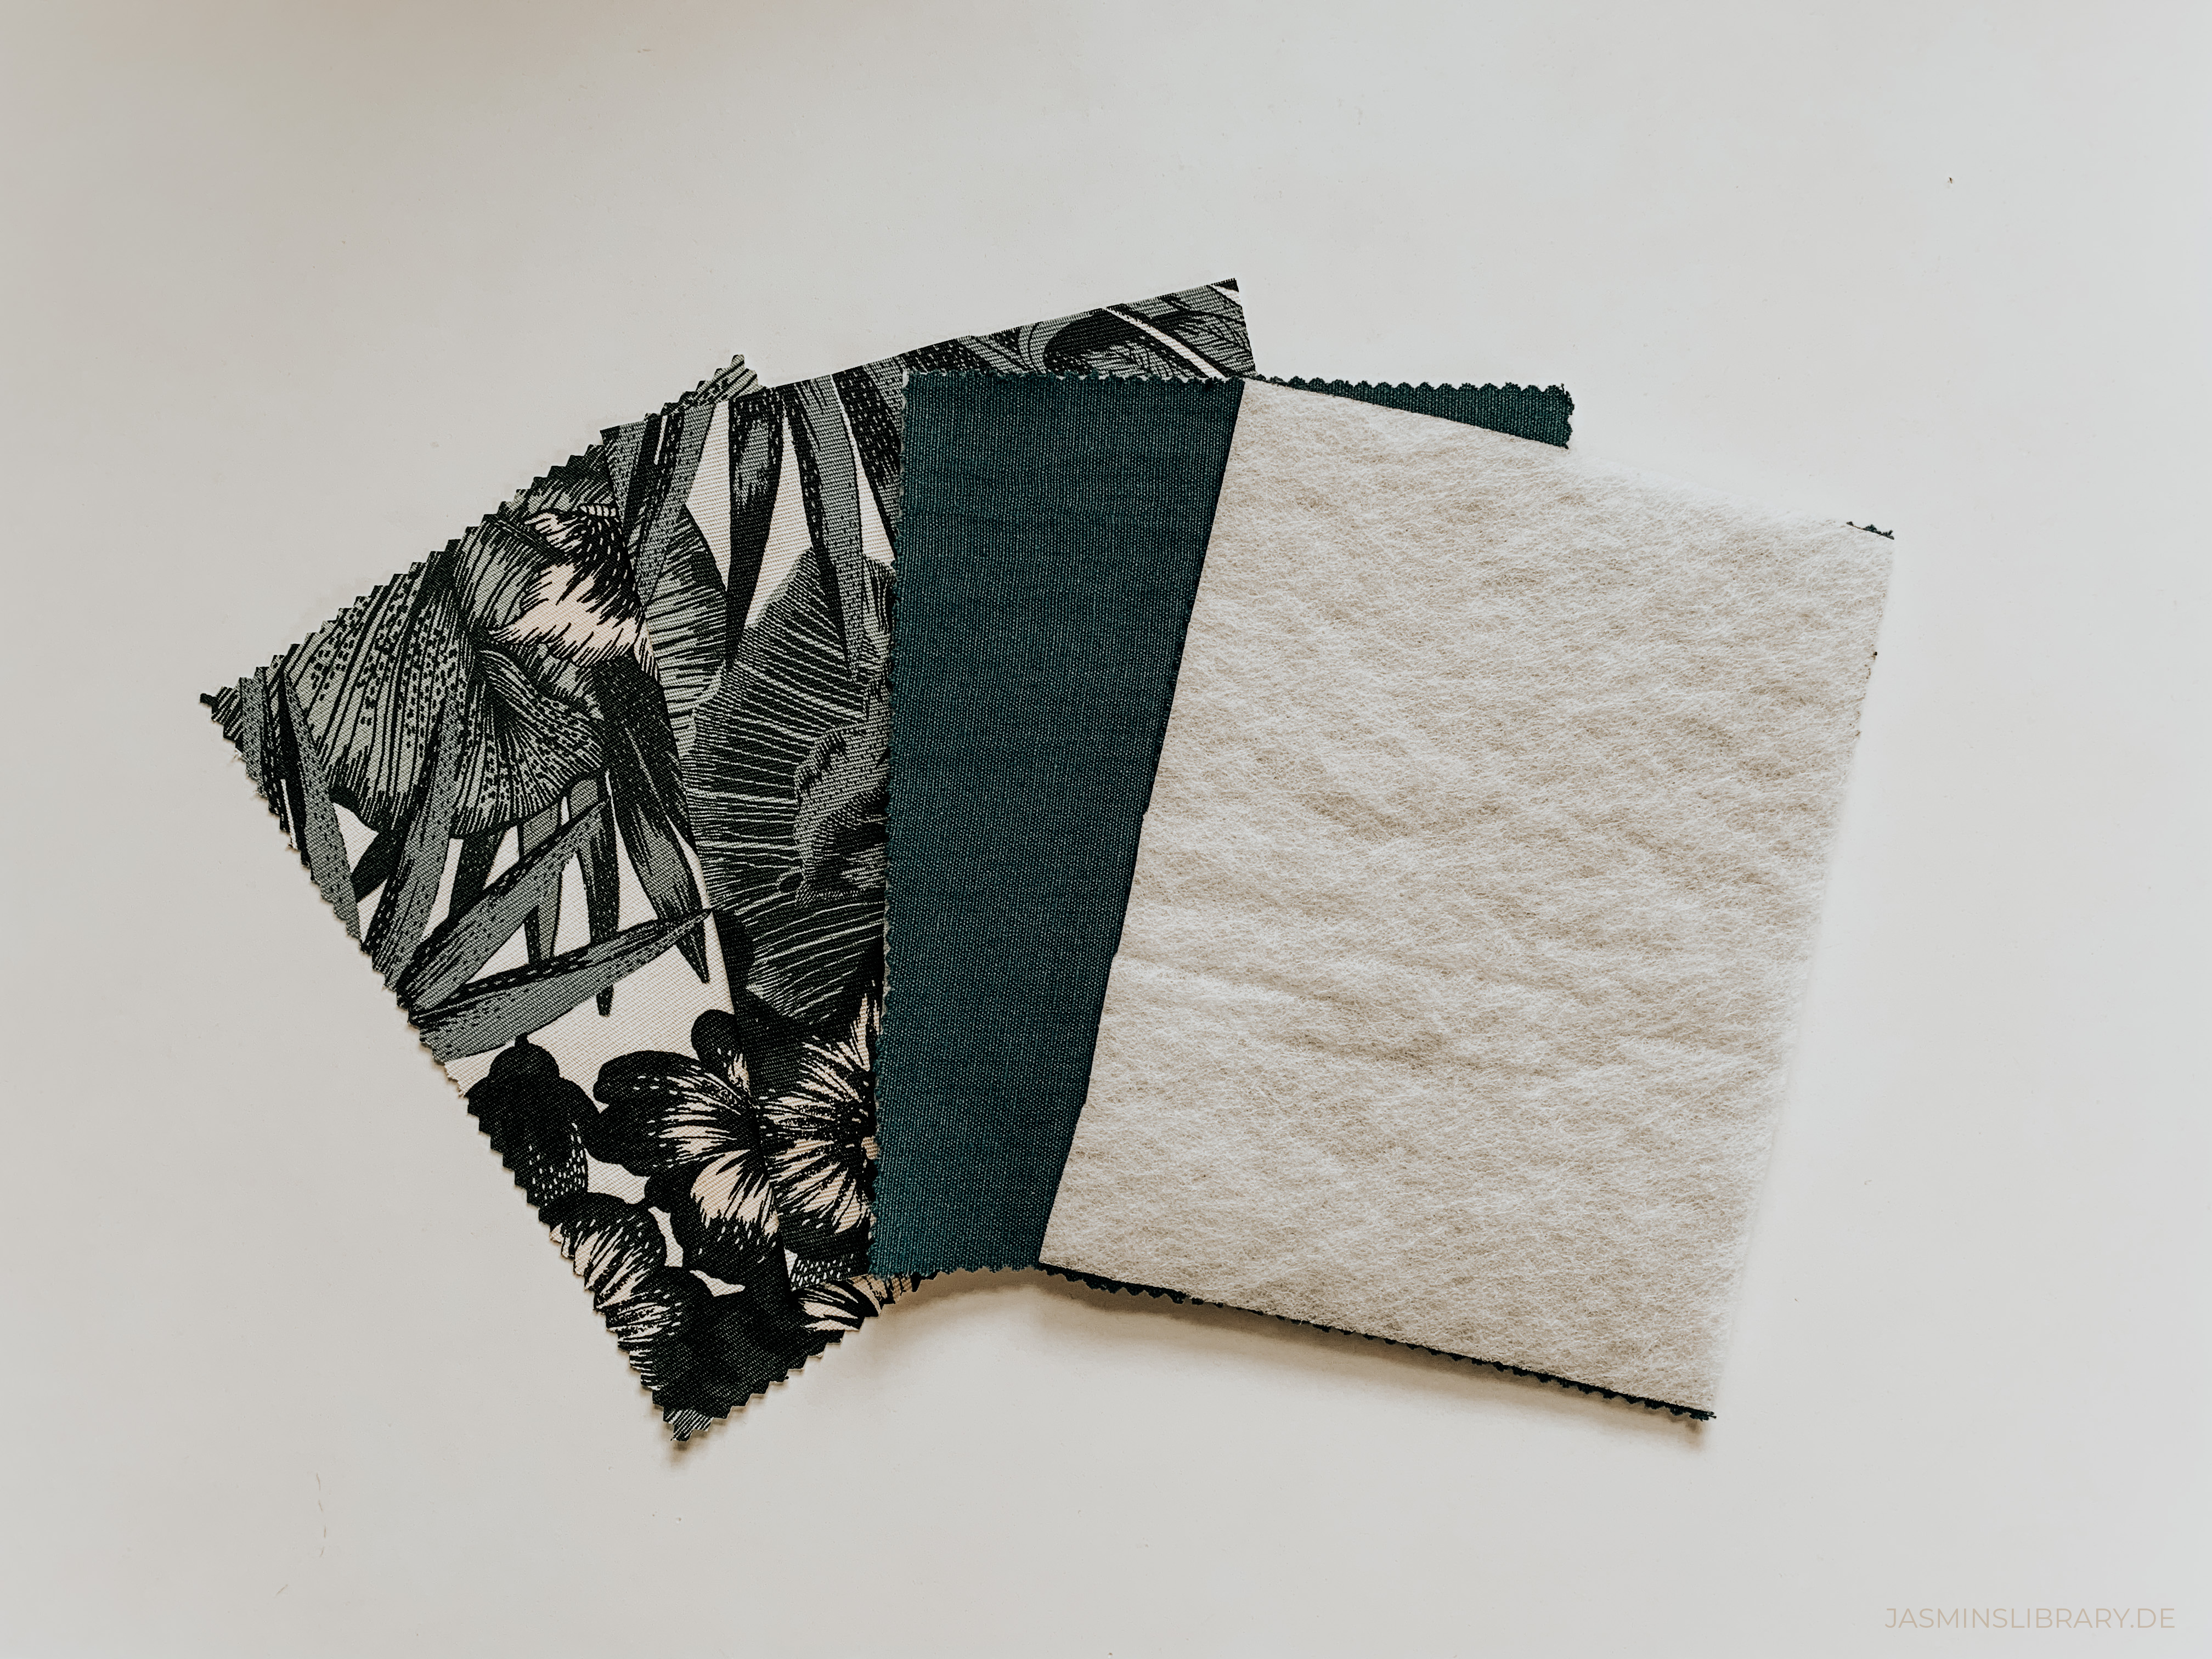
Cut the pieces of your fabric with the measurements you just calculated. It depends whether you want to use two different fabrics for the inner and outer side or if you’ll be using the same. I used different kinds of fabrics, so here’s what I needed:
– 2x outer fabric (4x if you only use one)
– 2x inner fabric (none if you only use one)
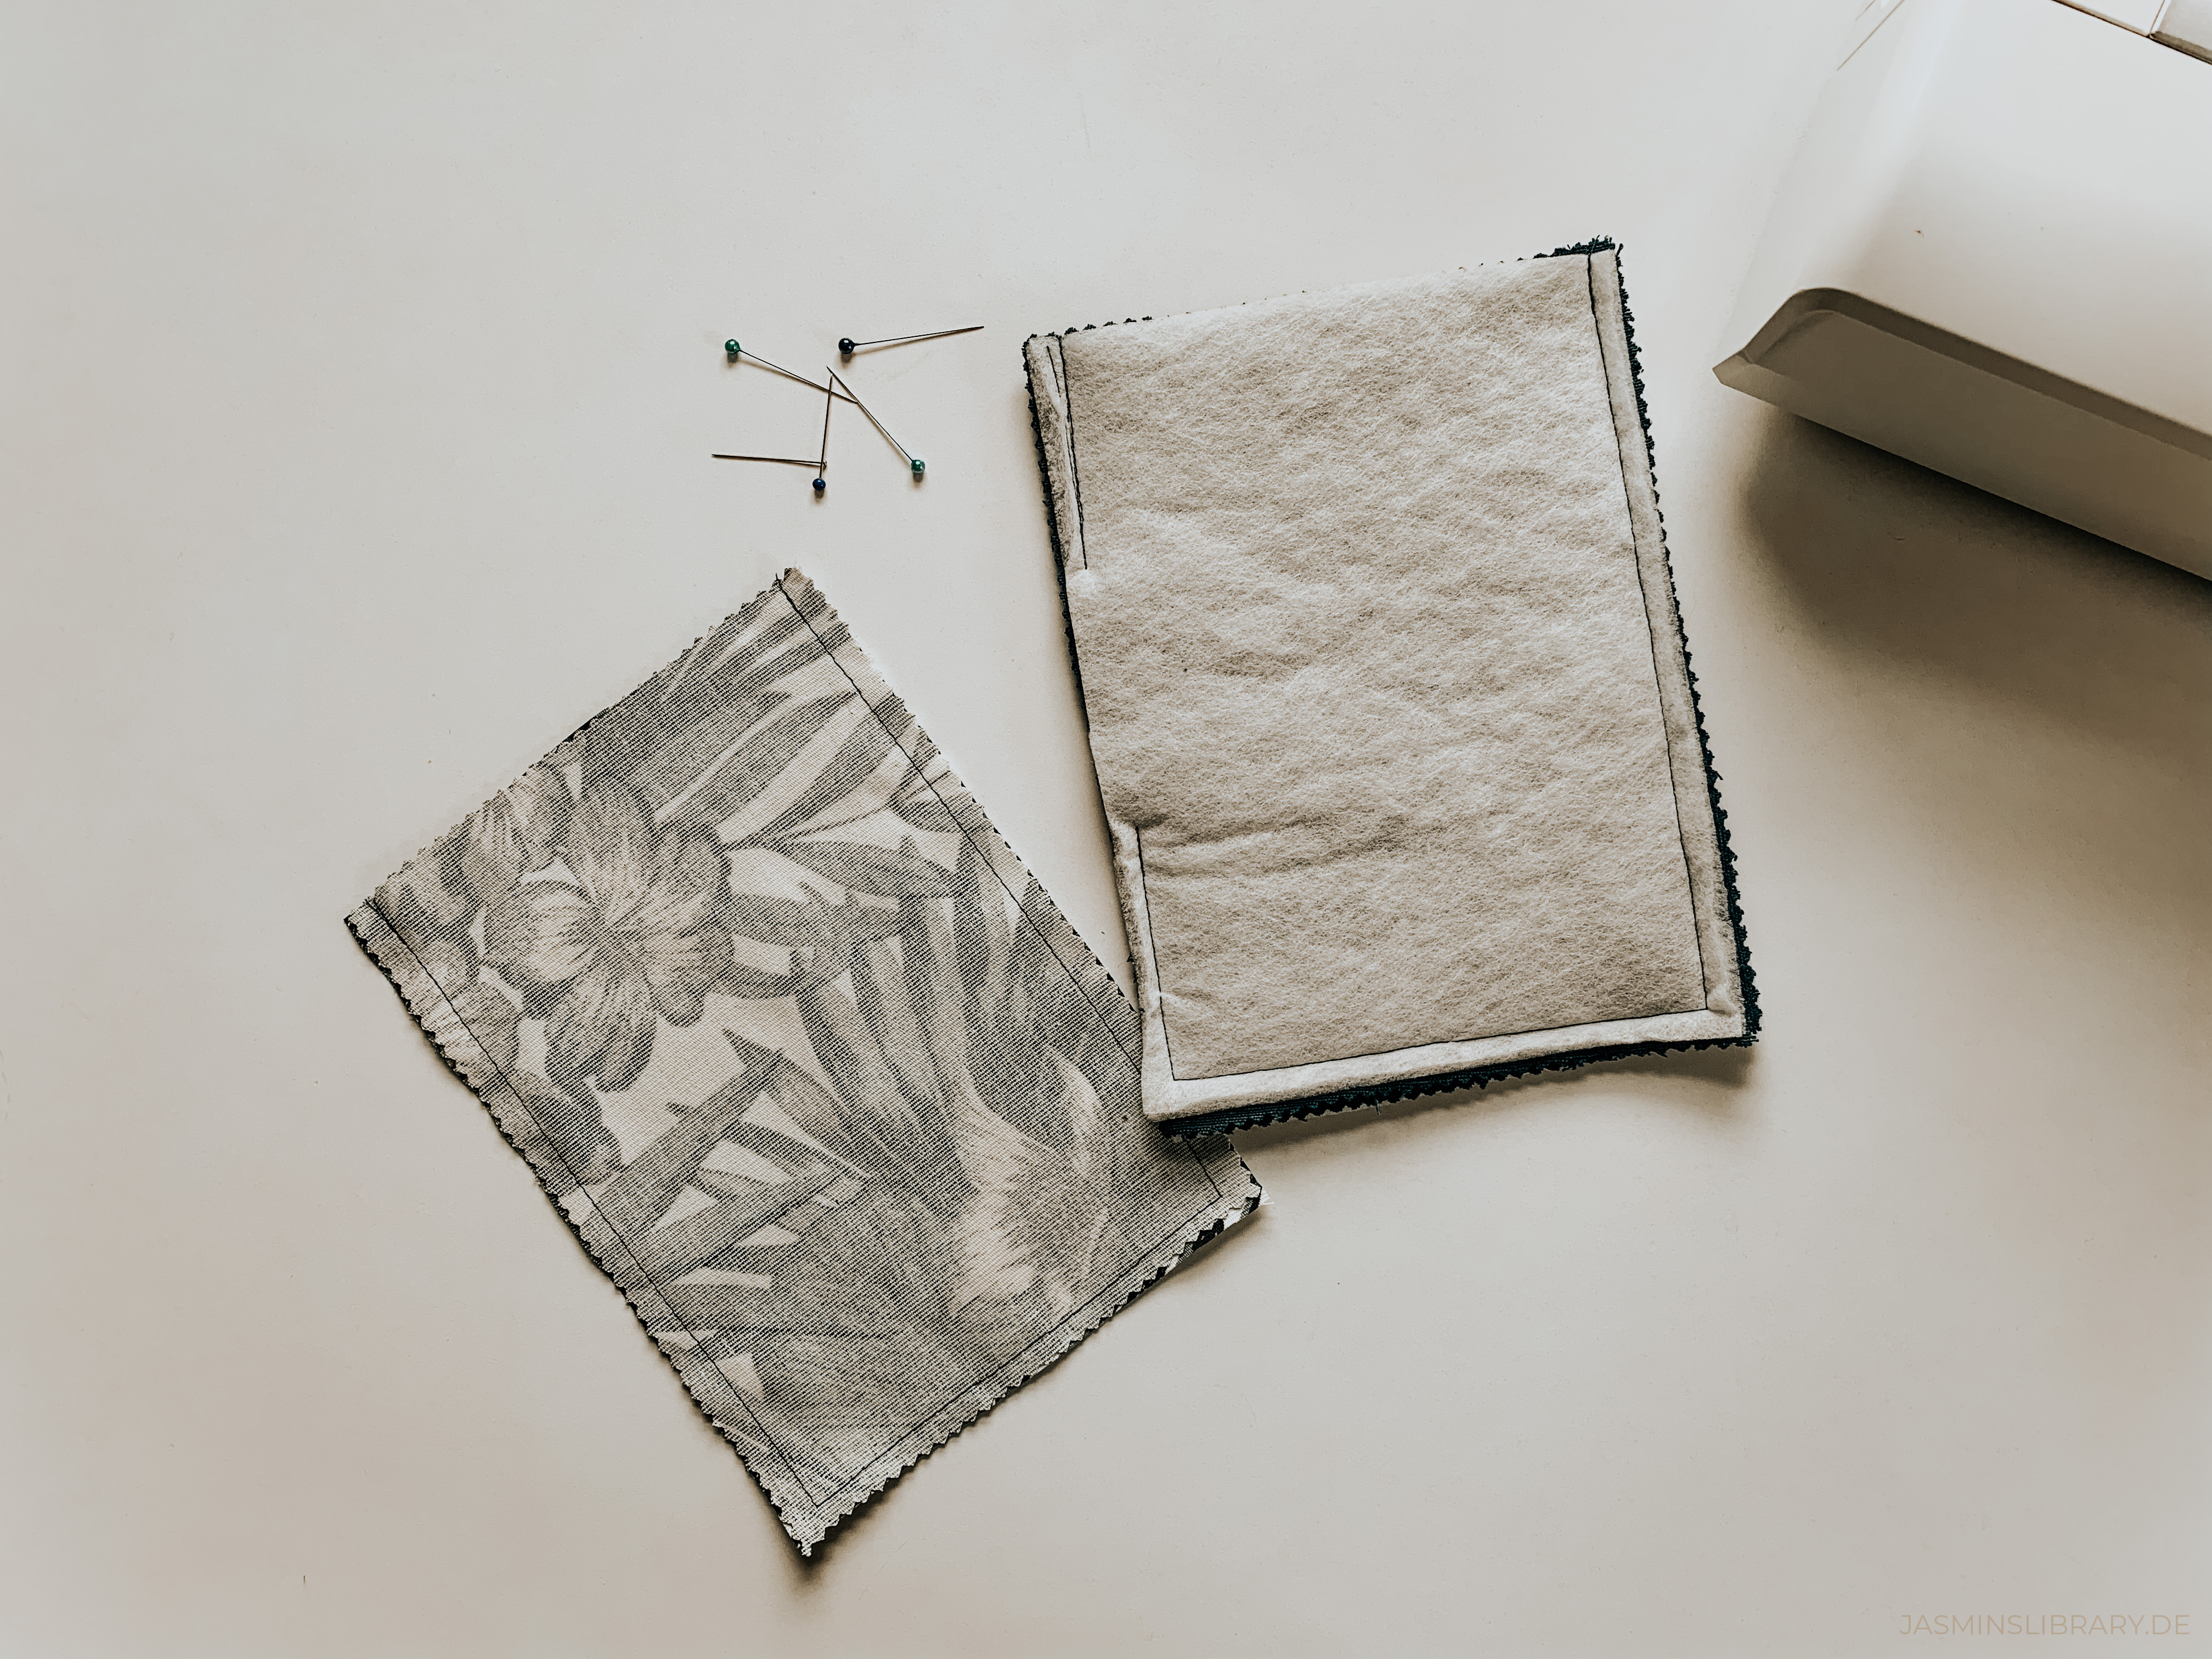
– 2x fusible wadding
After cutting them out, iron them and fuse the wadding to your inner pieces. It depends on which kind of wadding you have, so read the instructions or ask about it in the shop when buying some!
Step 3:
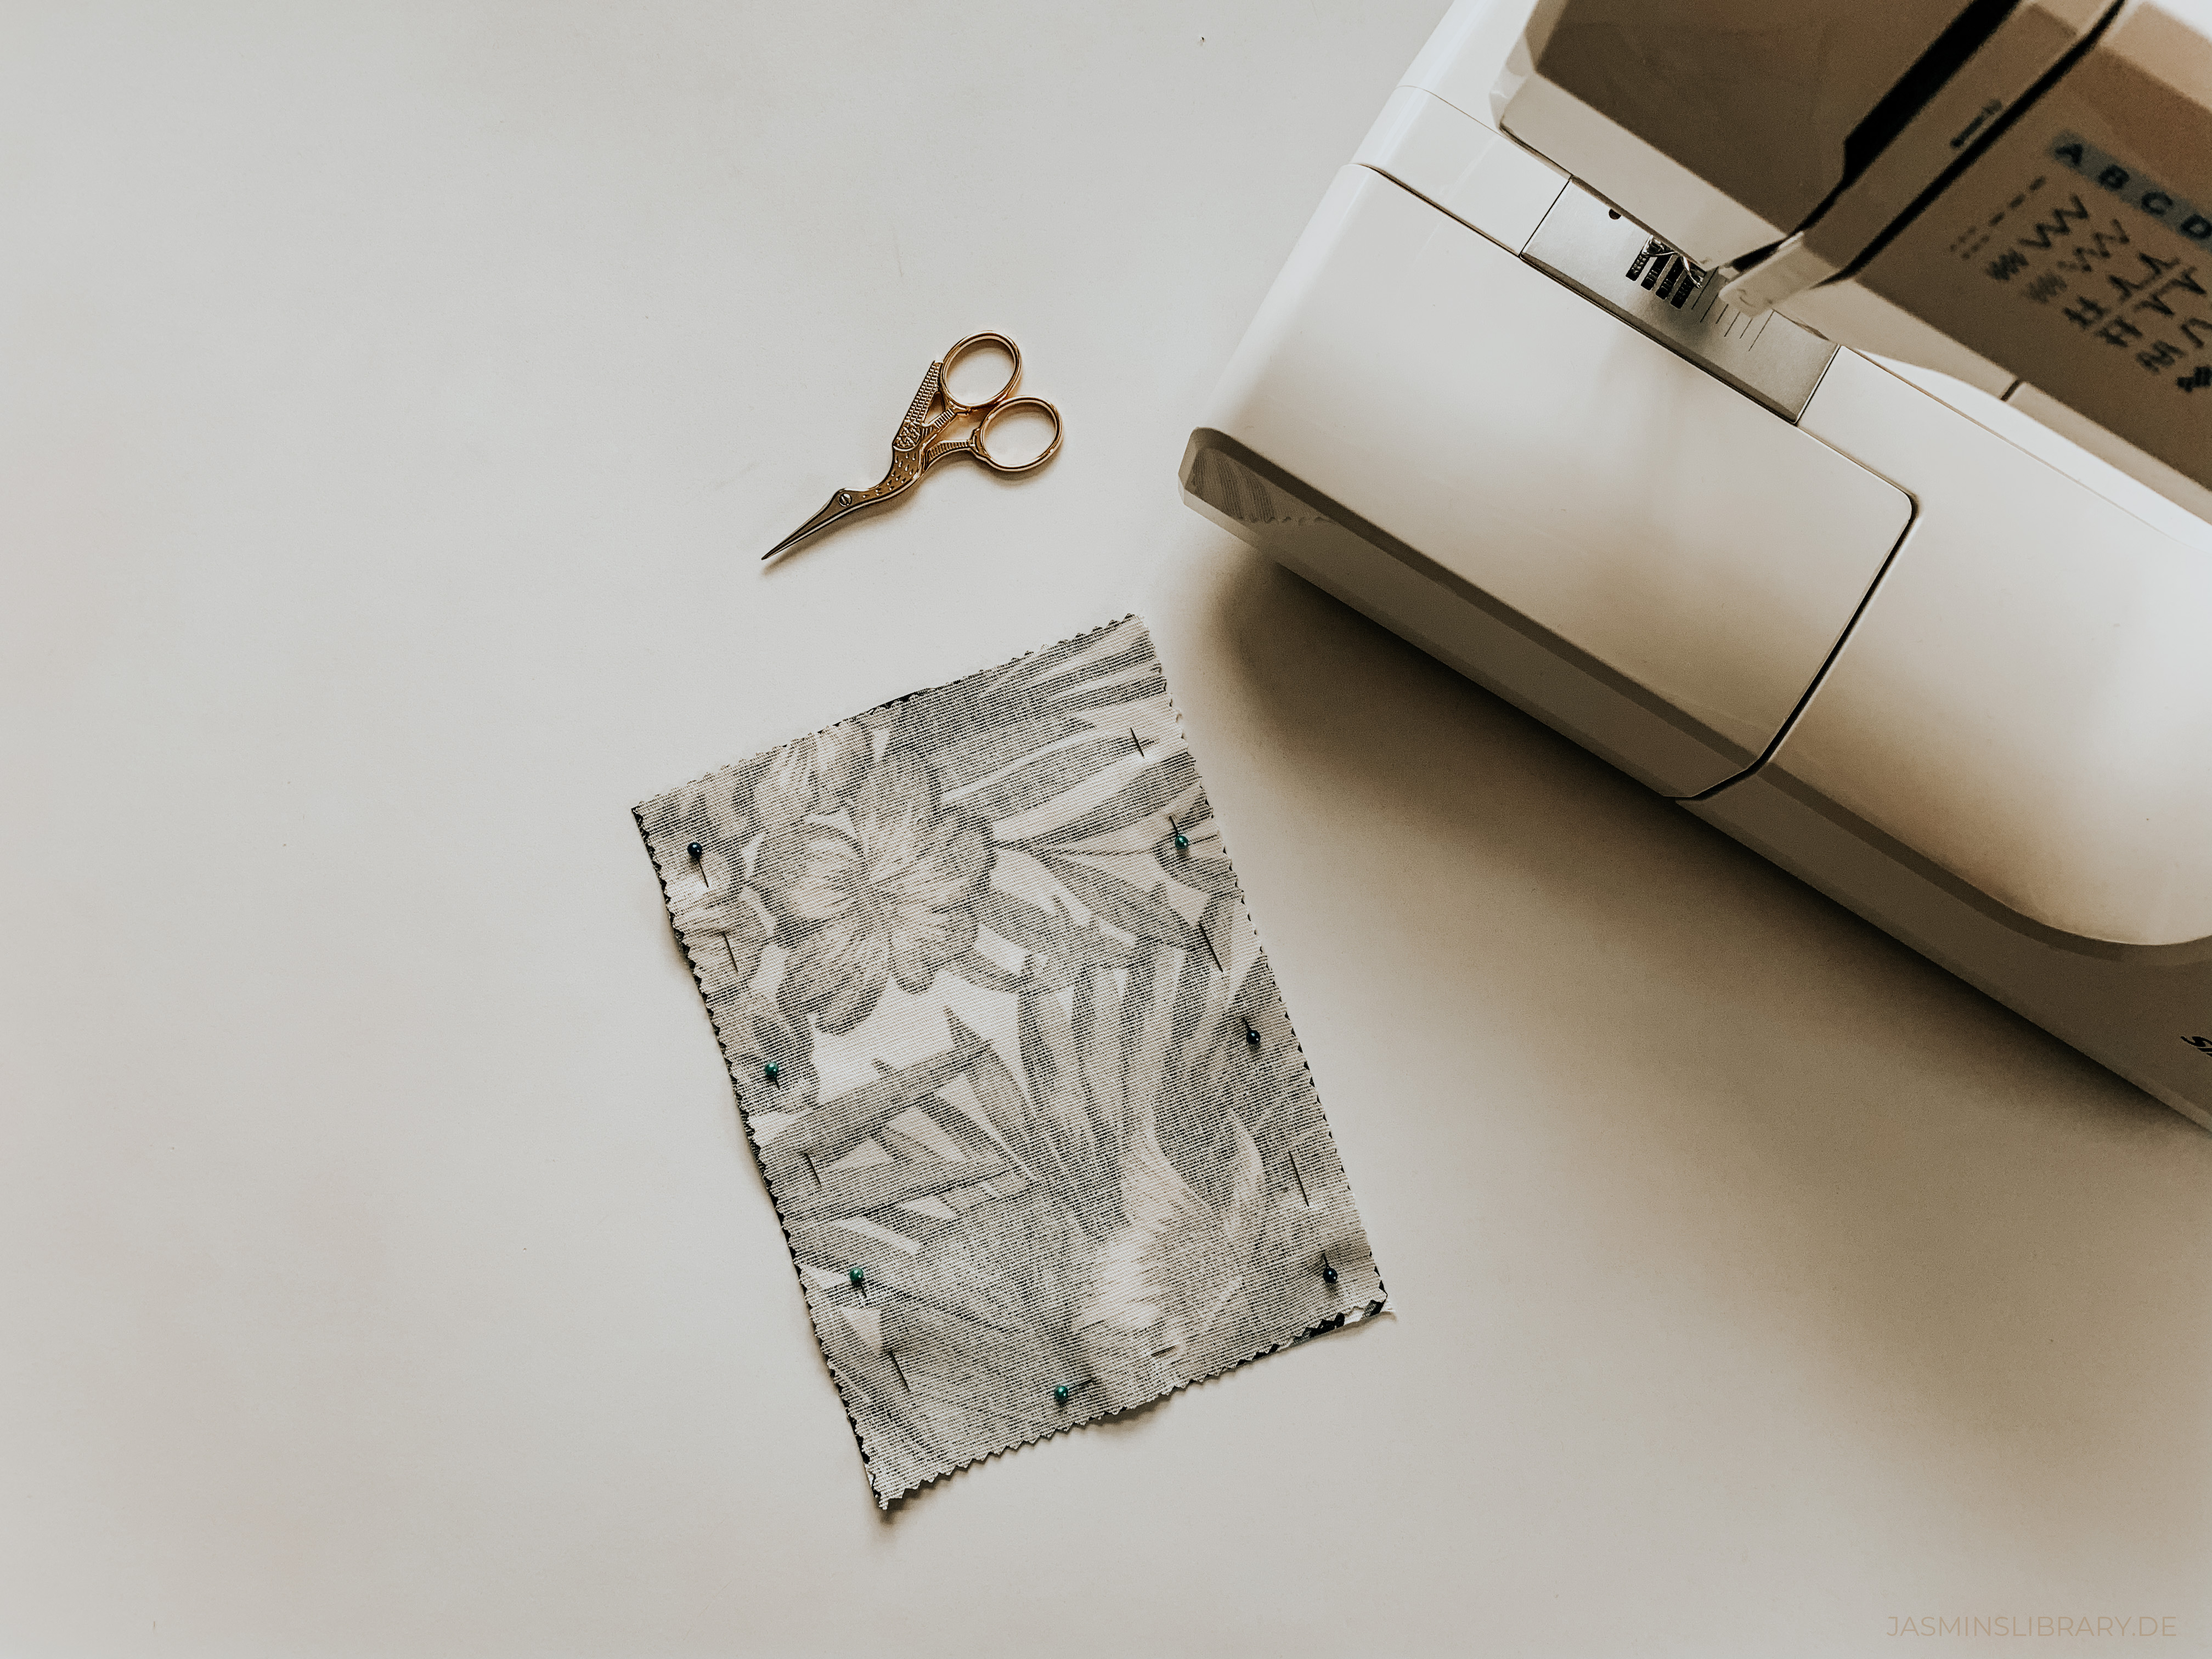
Take your outer fabric pieces and lay them right sides together. Sew the left, right and bottom but leave the upper part open. Use 1cm of seam allowance.
Step 4:

Take your inner fabric pieces and repeat Step 3. Sew the left, right and bottom but leave the upper part + an opening on one side, big enough to later flip your fabric through it!
Step 5:
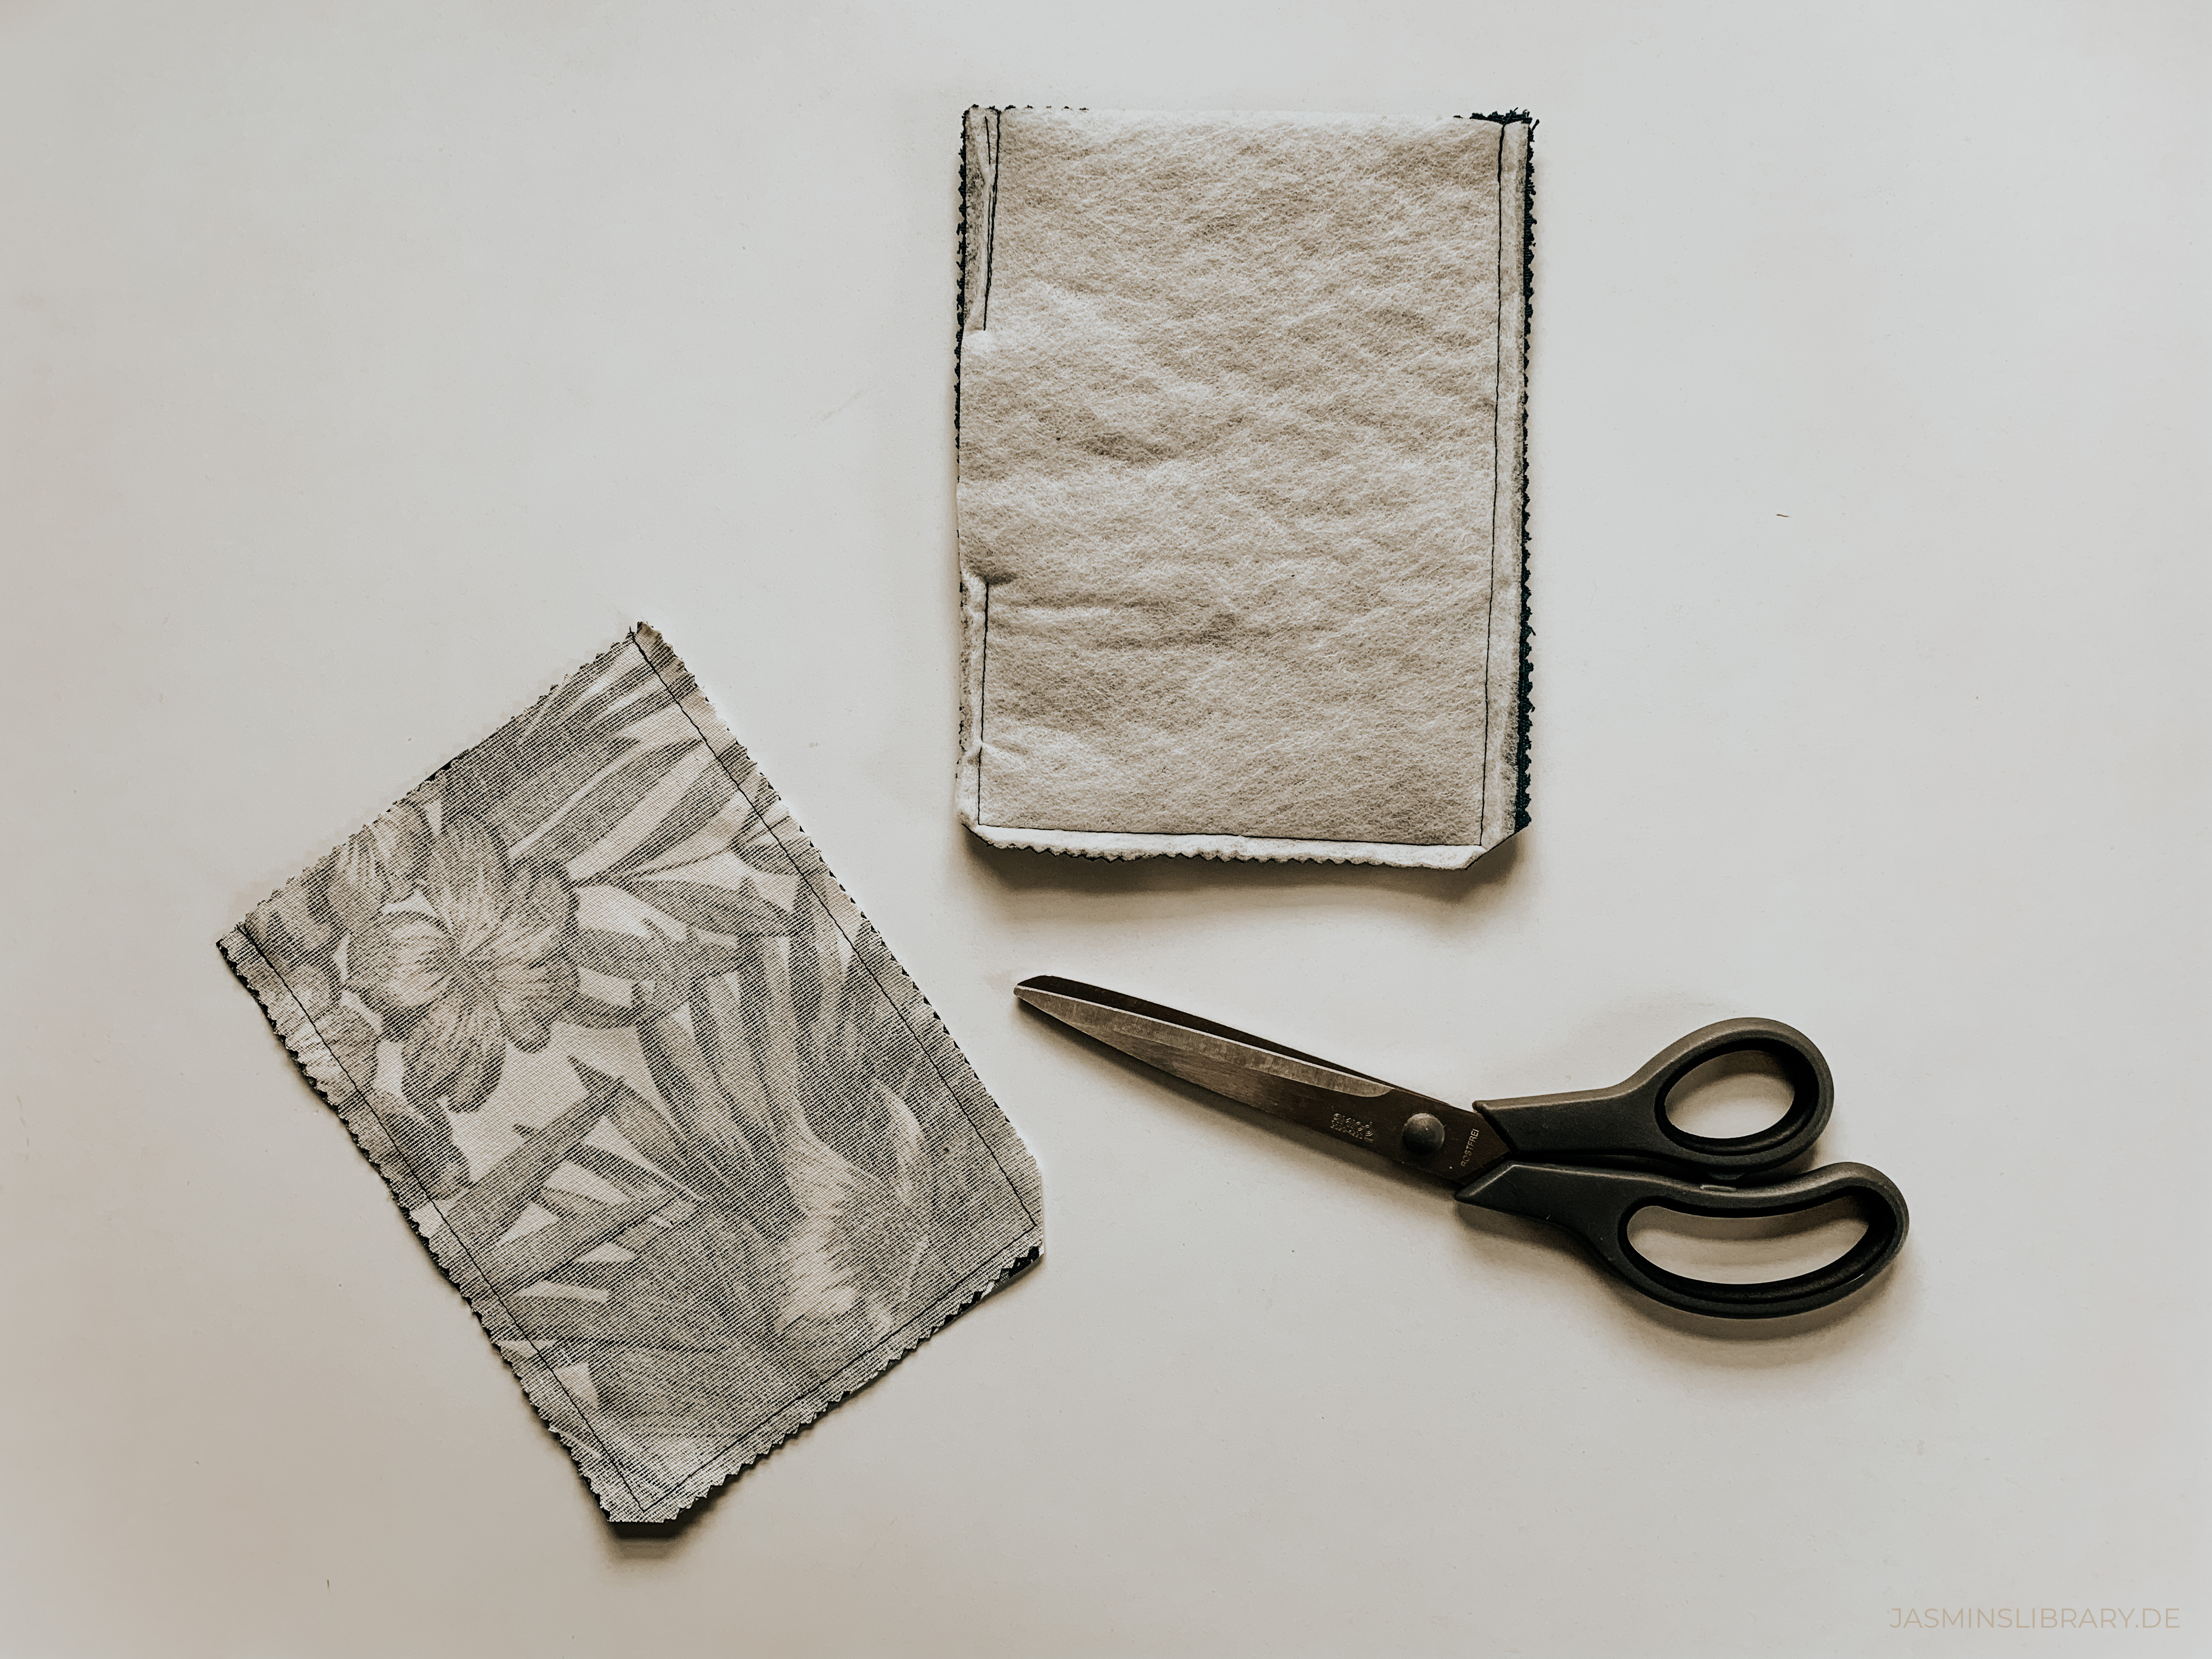
Once you have sewn your pieces together, take your scissors and cut off the edges close to your stitching, but not too close. This will take out some bulk of the sleeve once it’s finished and turned on the right side.
Step 6:
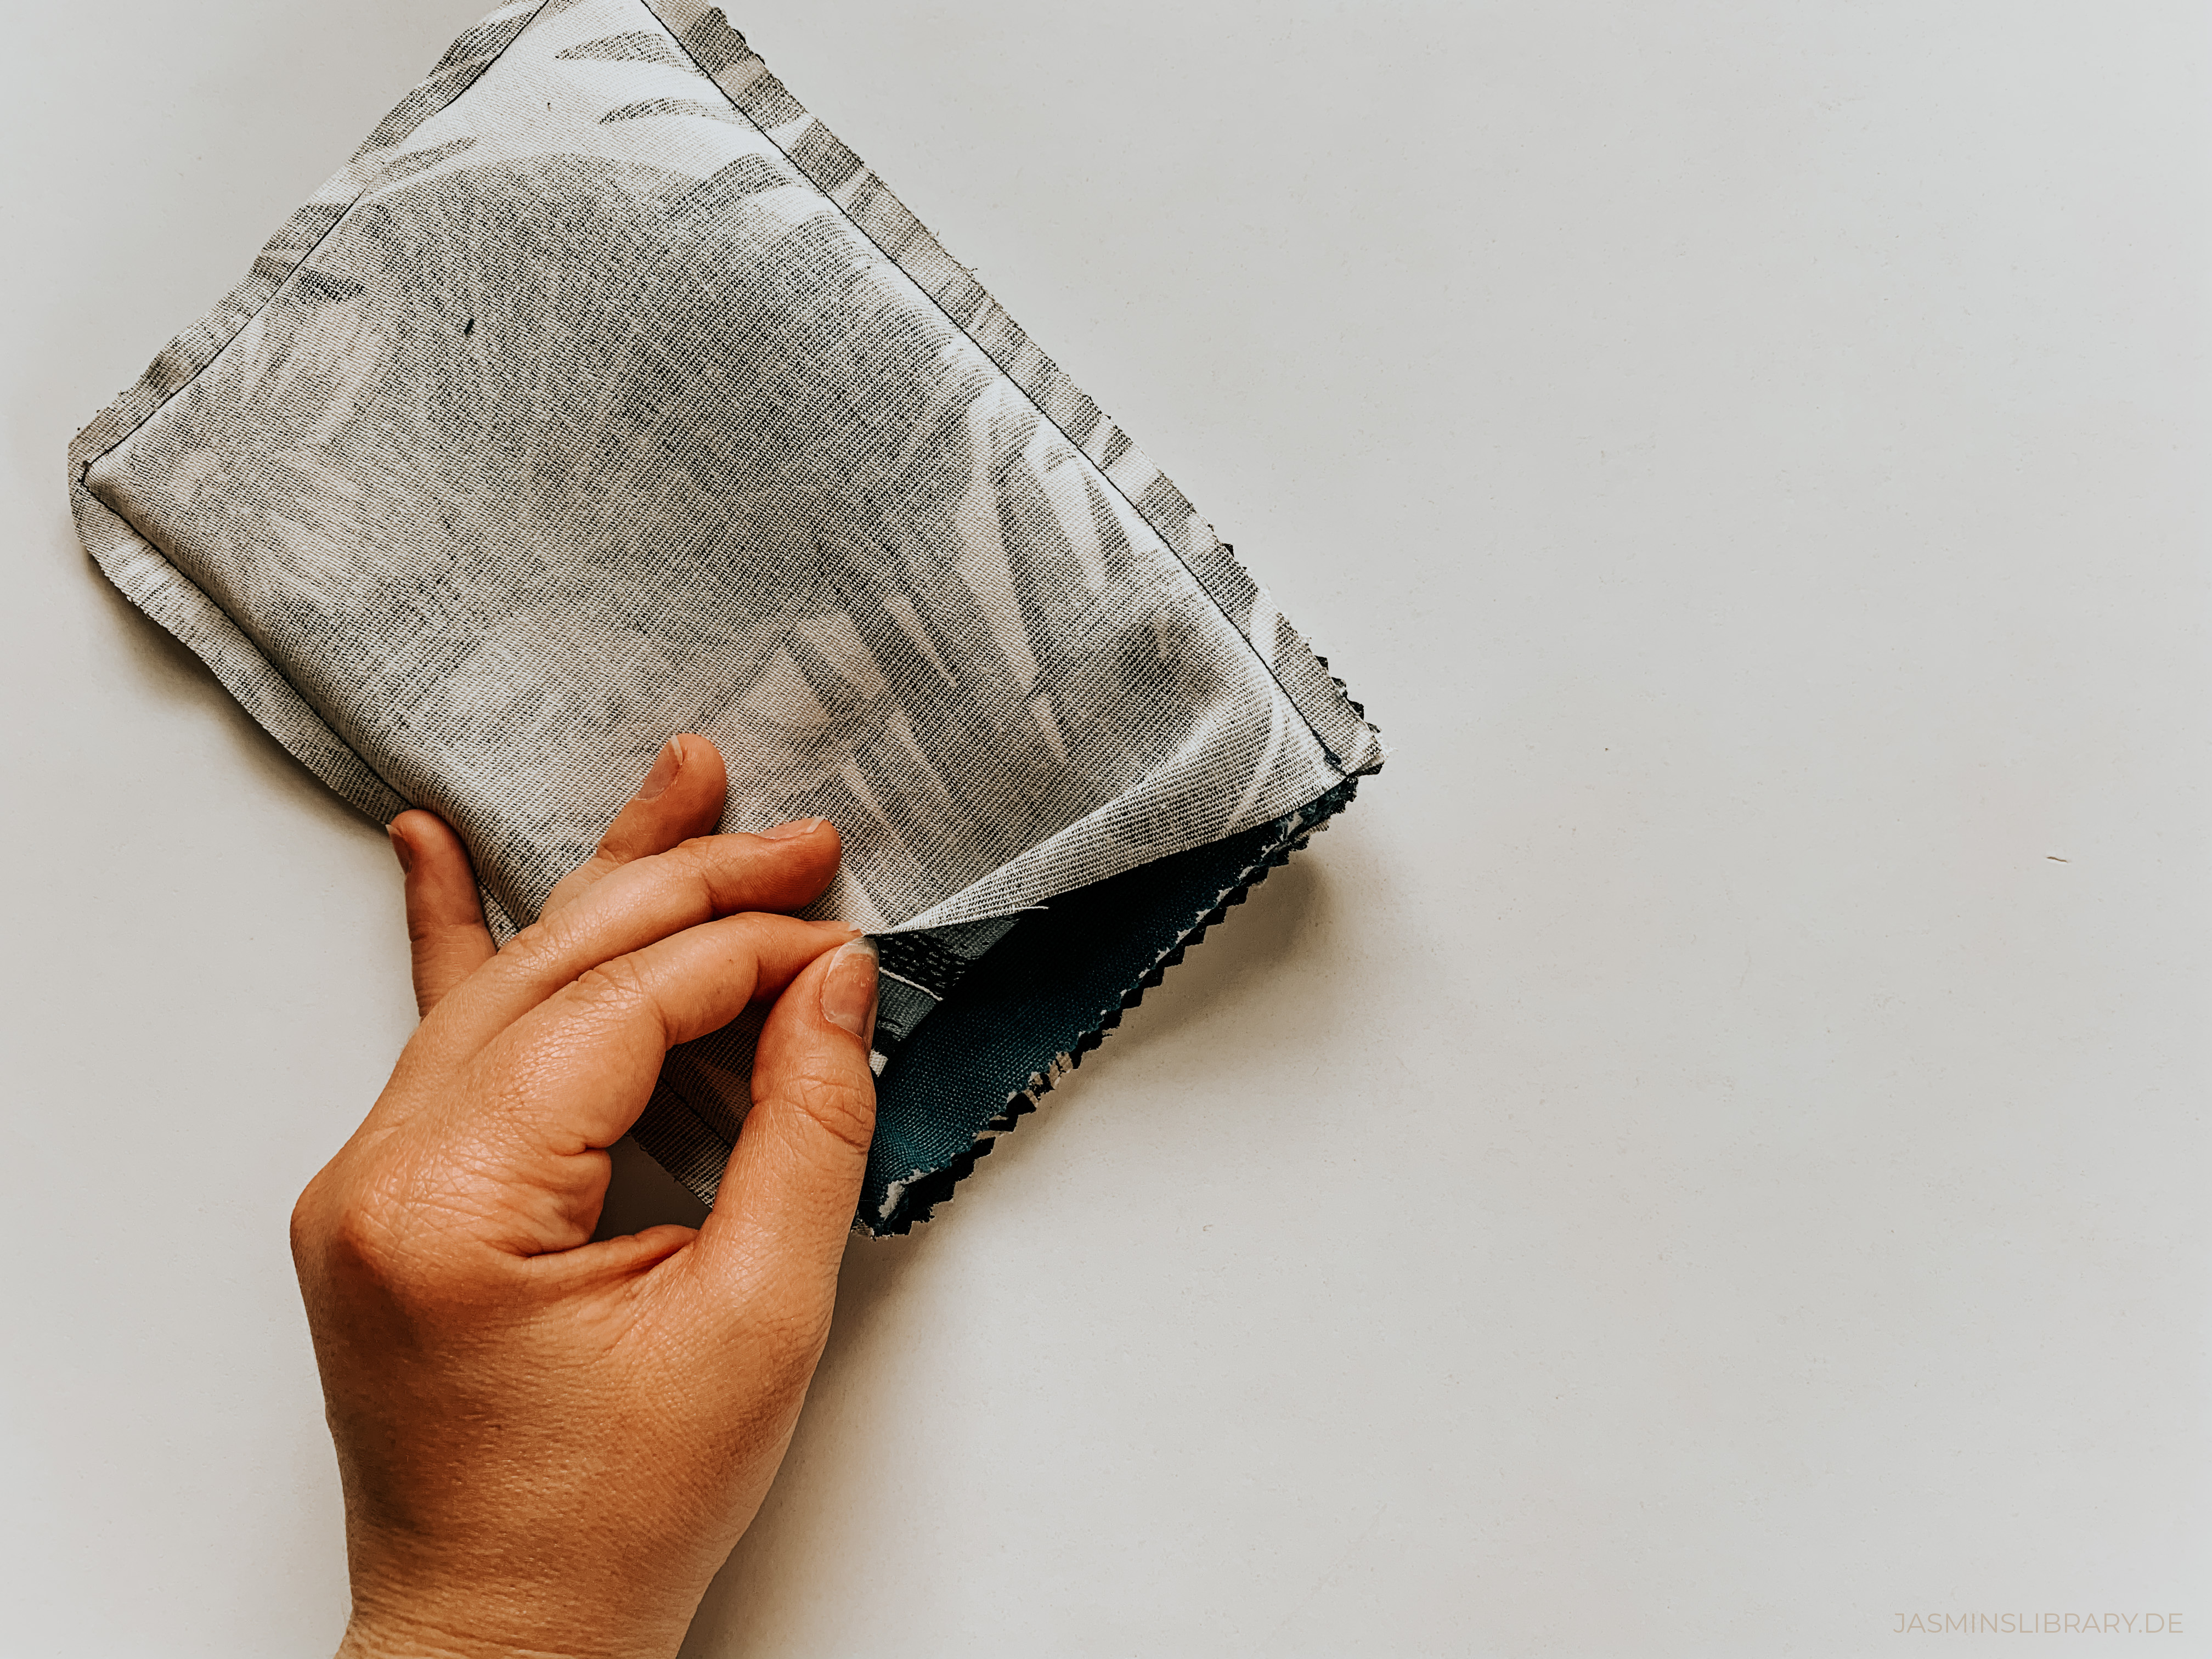
Take your inner fabric and turn it right side out (the nice side of the fabric facing out) and put it in the outer fabric (which you didn’t turn). Carefully push the pieces together so that the side seams align. Take your time on this step, as it’s important that everything is aligned and as flat as possible.
Step 7:
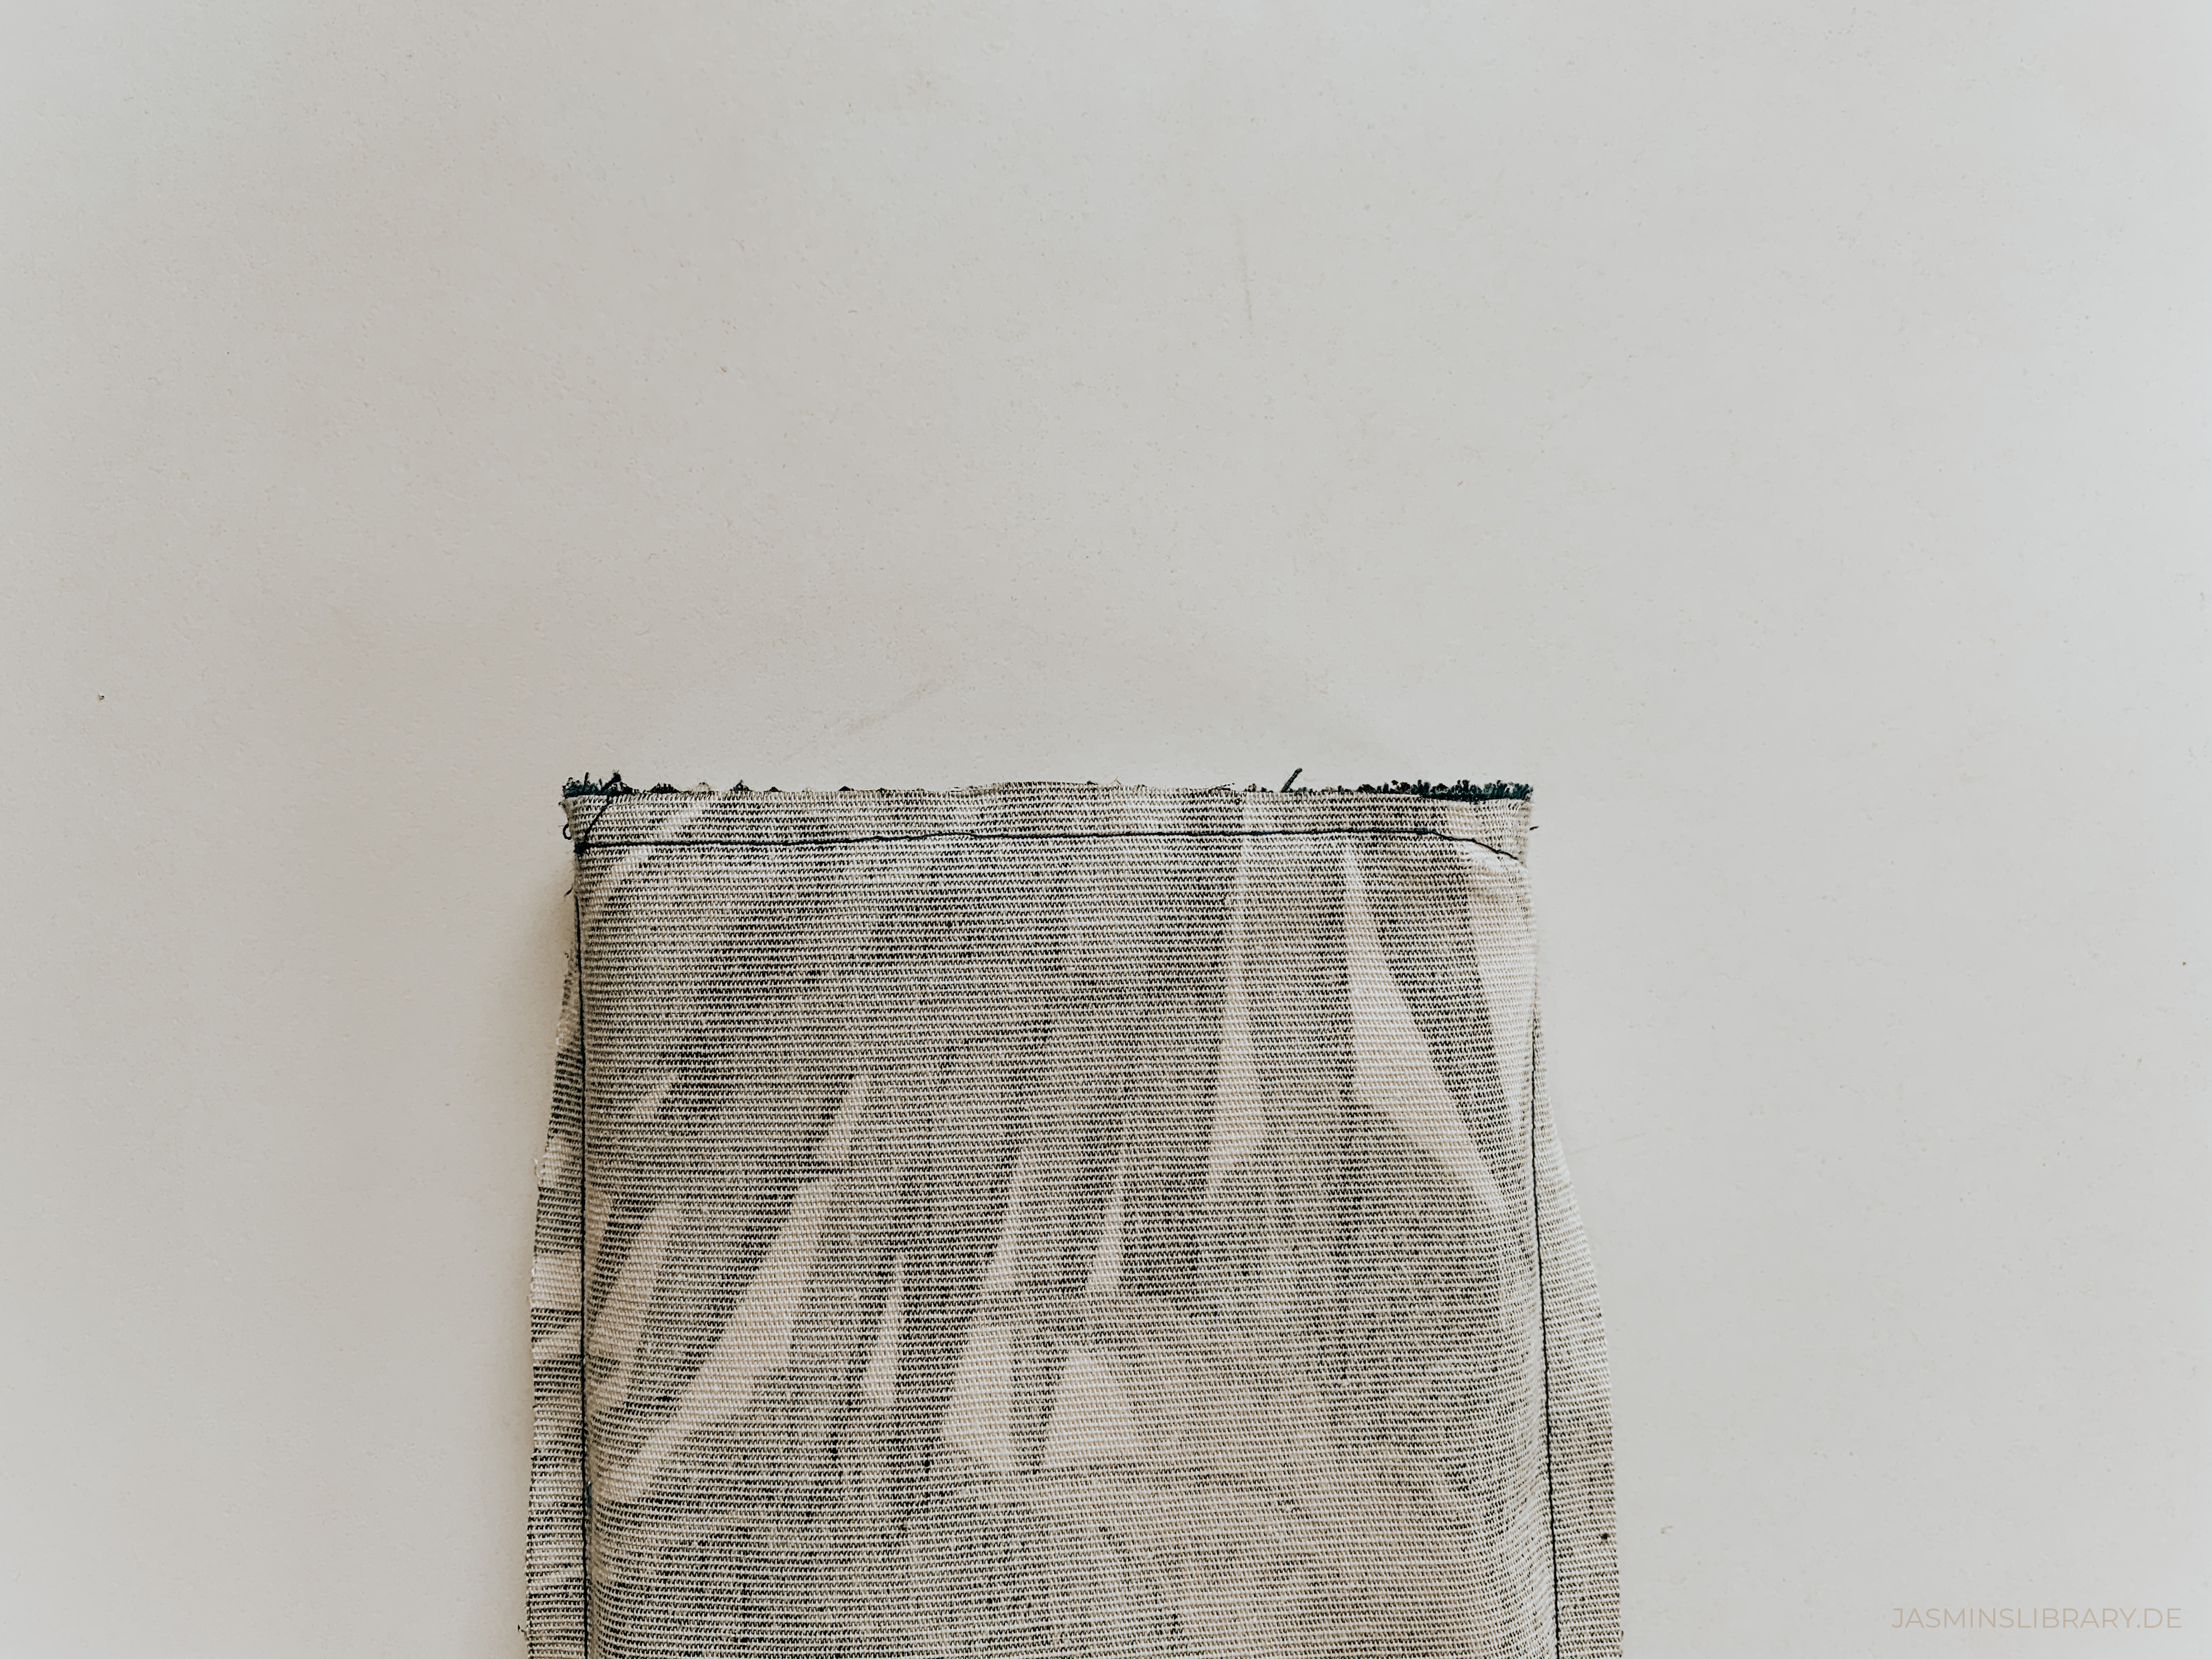
Carefully sew around the upper side of your fabrics to close the opening you had. Remember to go around and only sew one outer layer to one inner layer and not everything at once. (This will close your sleeve and we don’t want that. Trust me, I did this once and it was stupid. Don’t be like me. Be clever.)
Step 8:
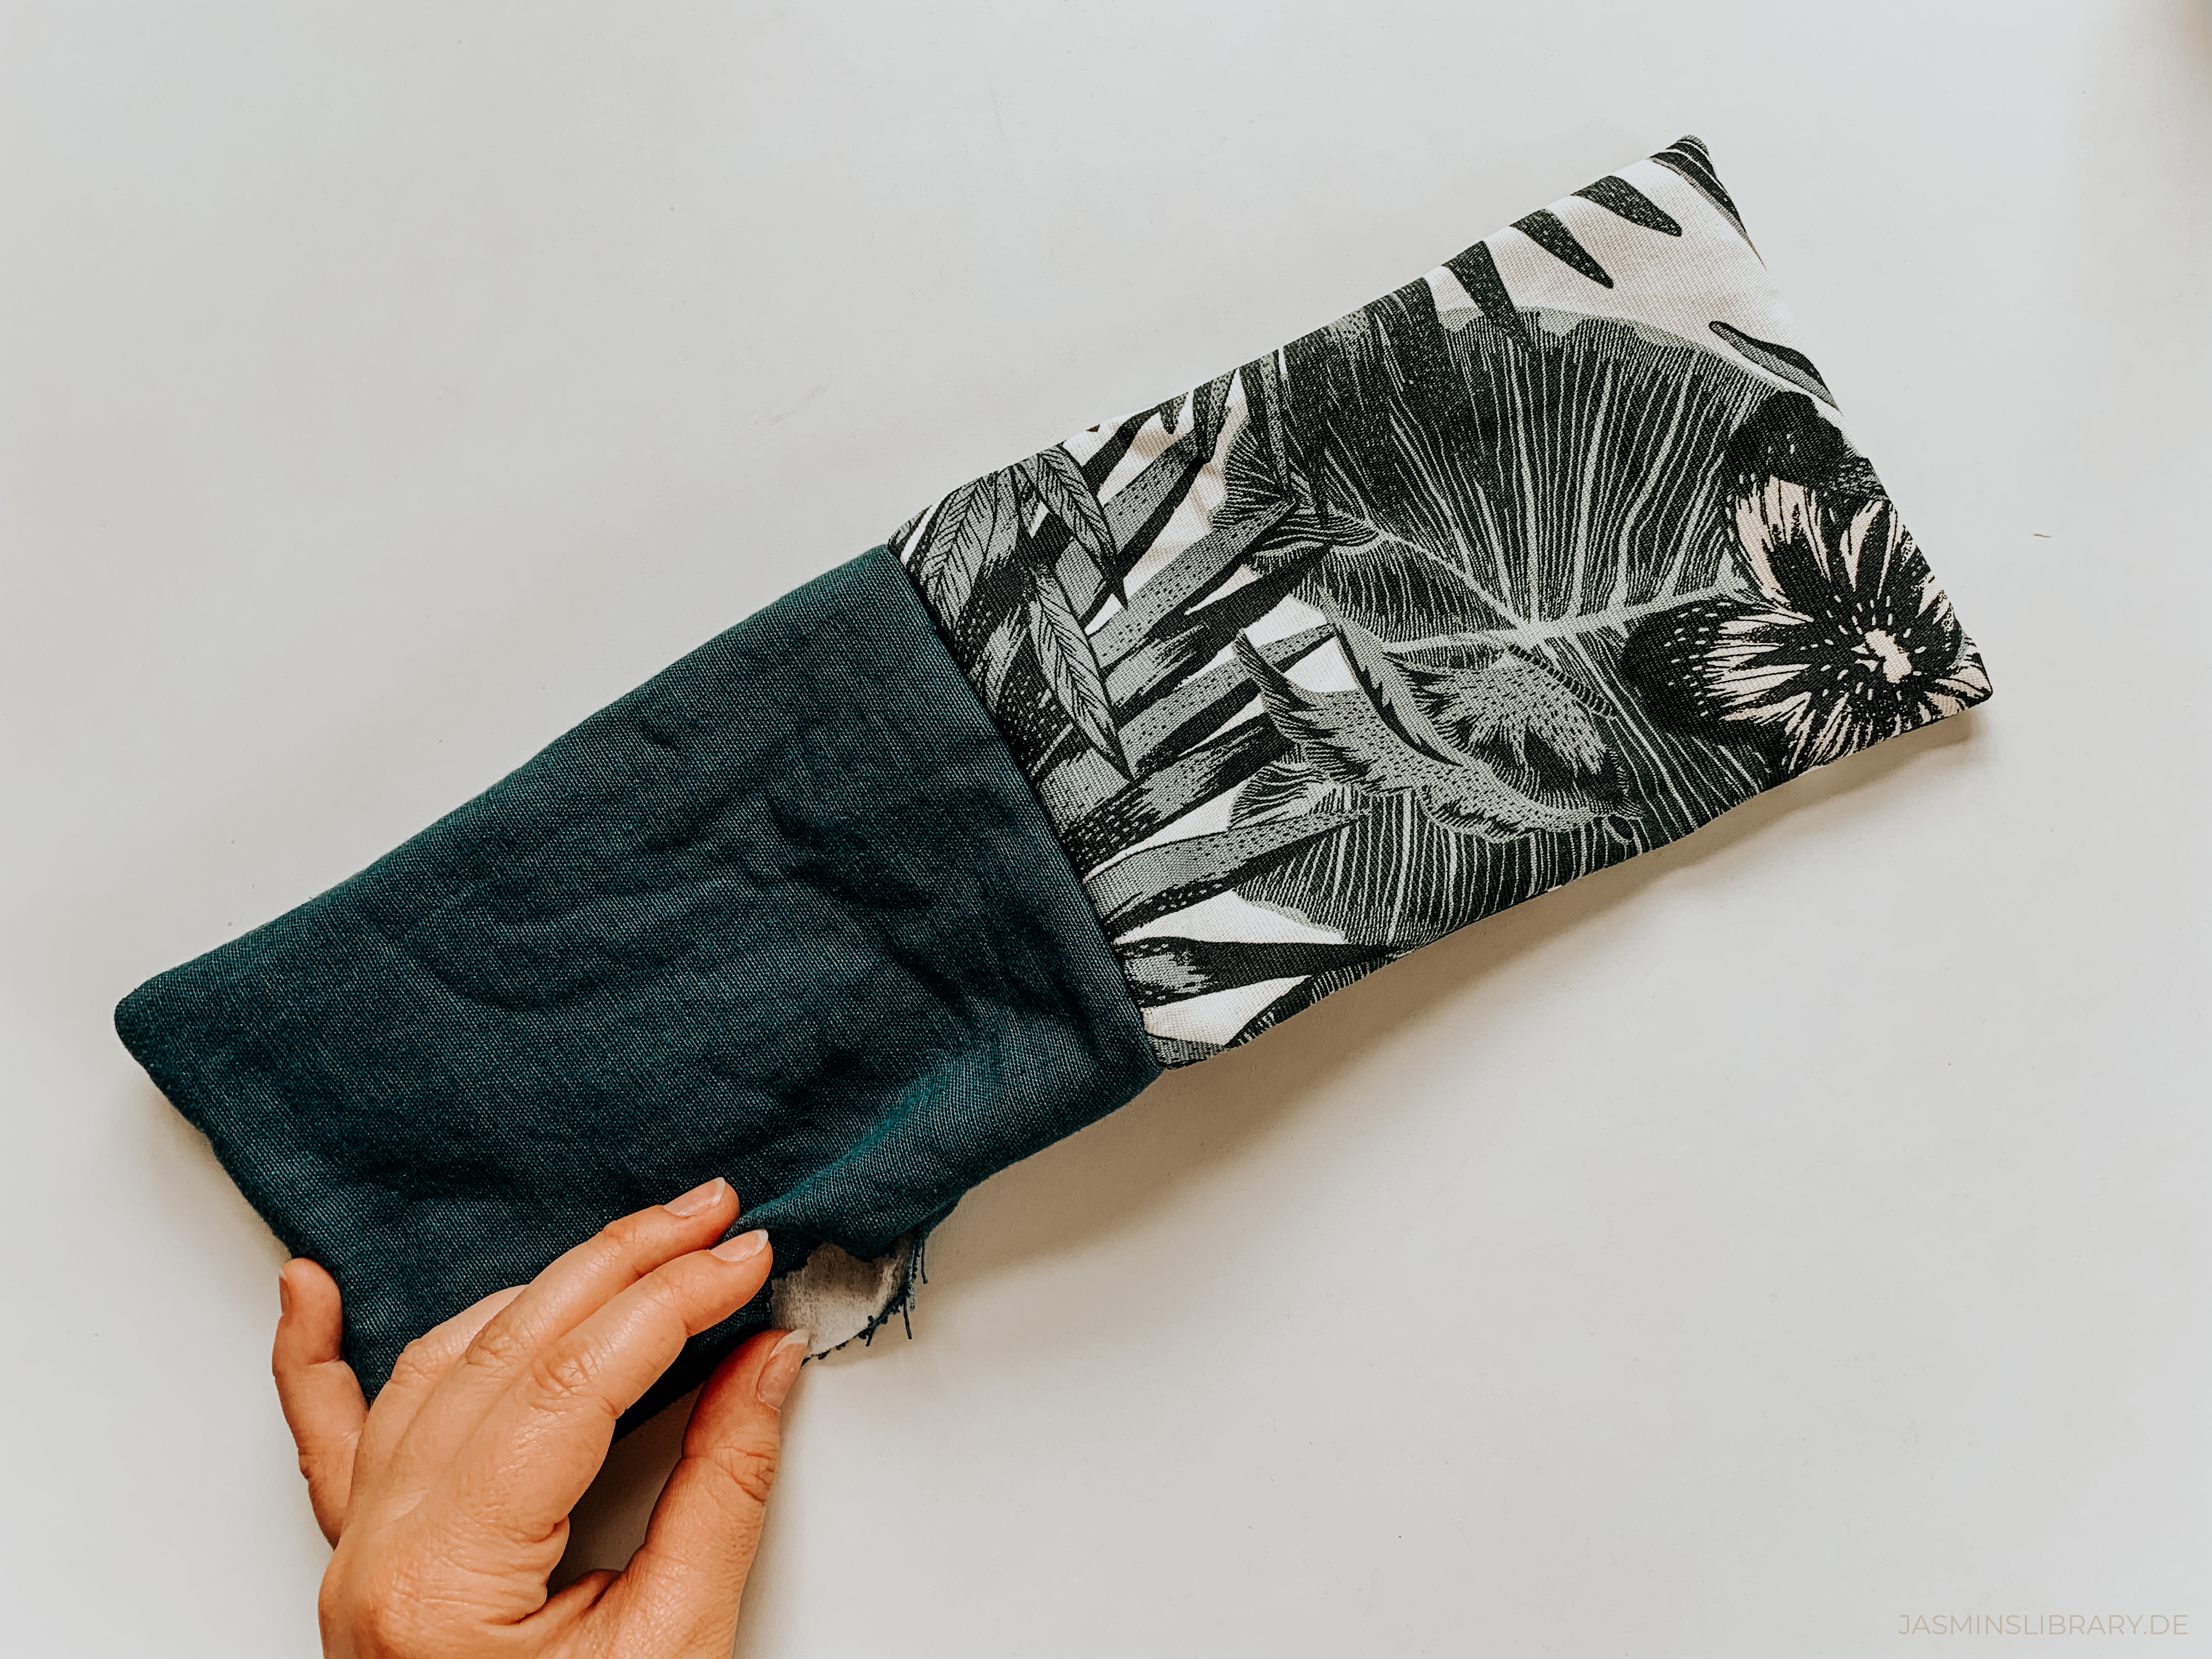
Now comes the tricky part. Take your sleeve and carefully turn it to the right side, using the opening you left on one side in Step 4! It might take some time and patience to do this – depending on how big your opening is. Just remember not to use much force as you might rip your whole piece apart in the process.
Step 9:
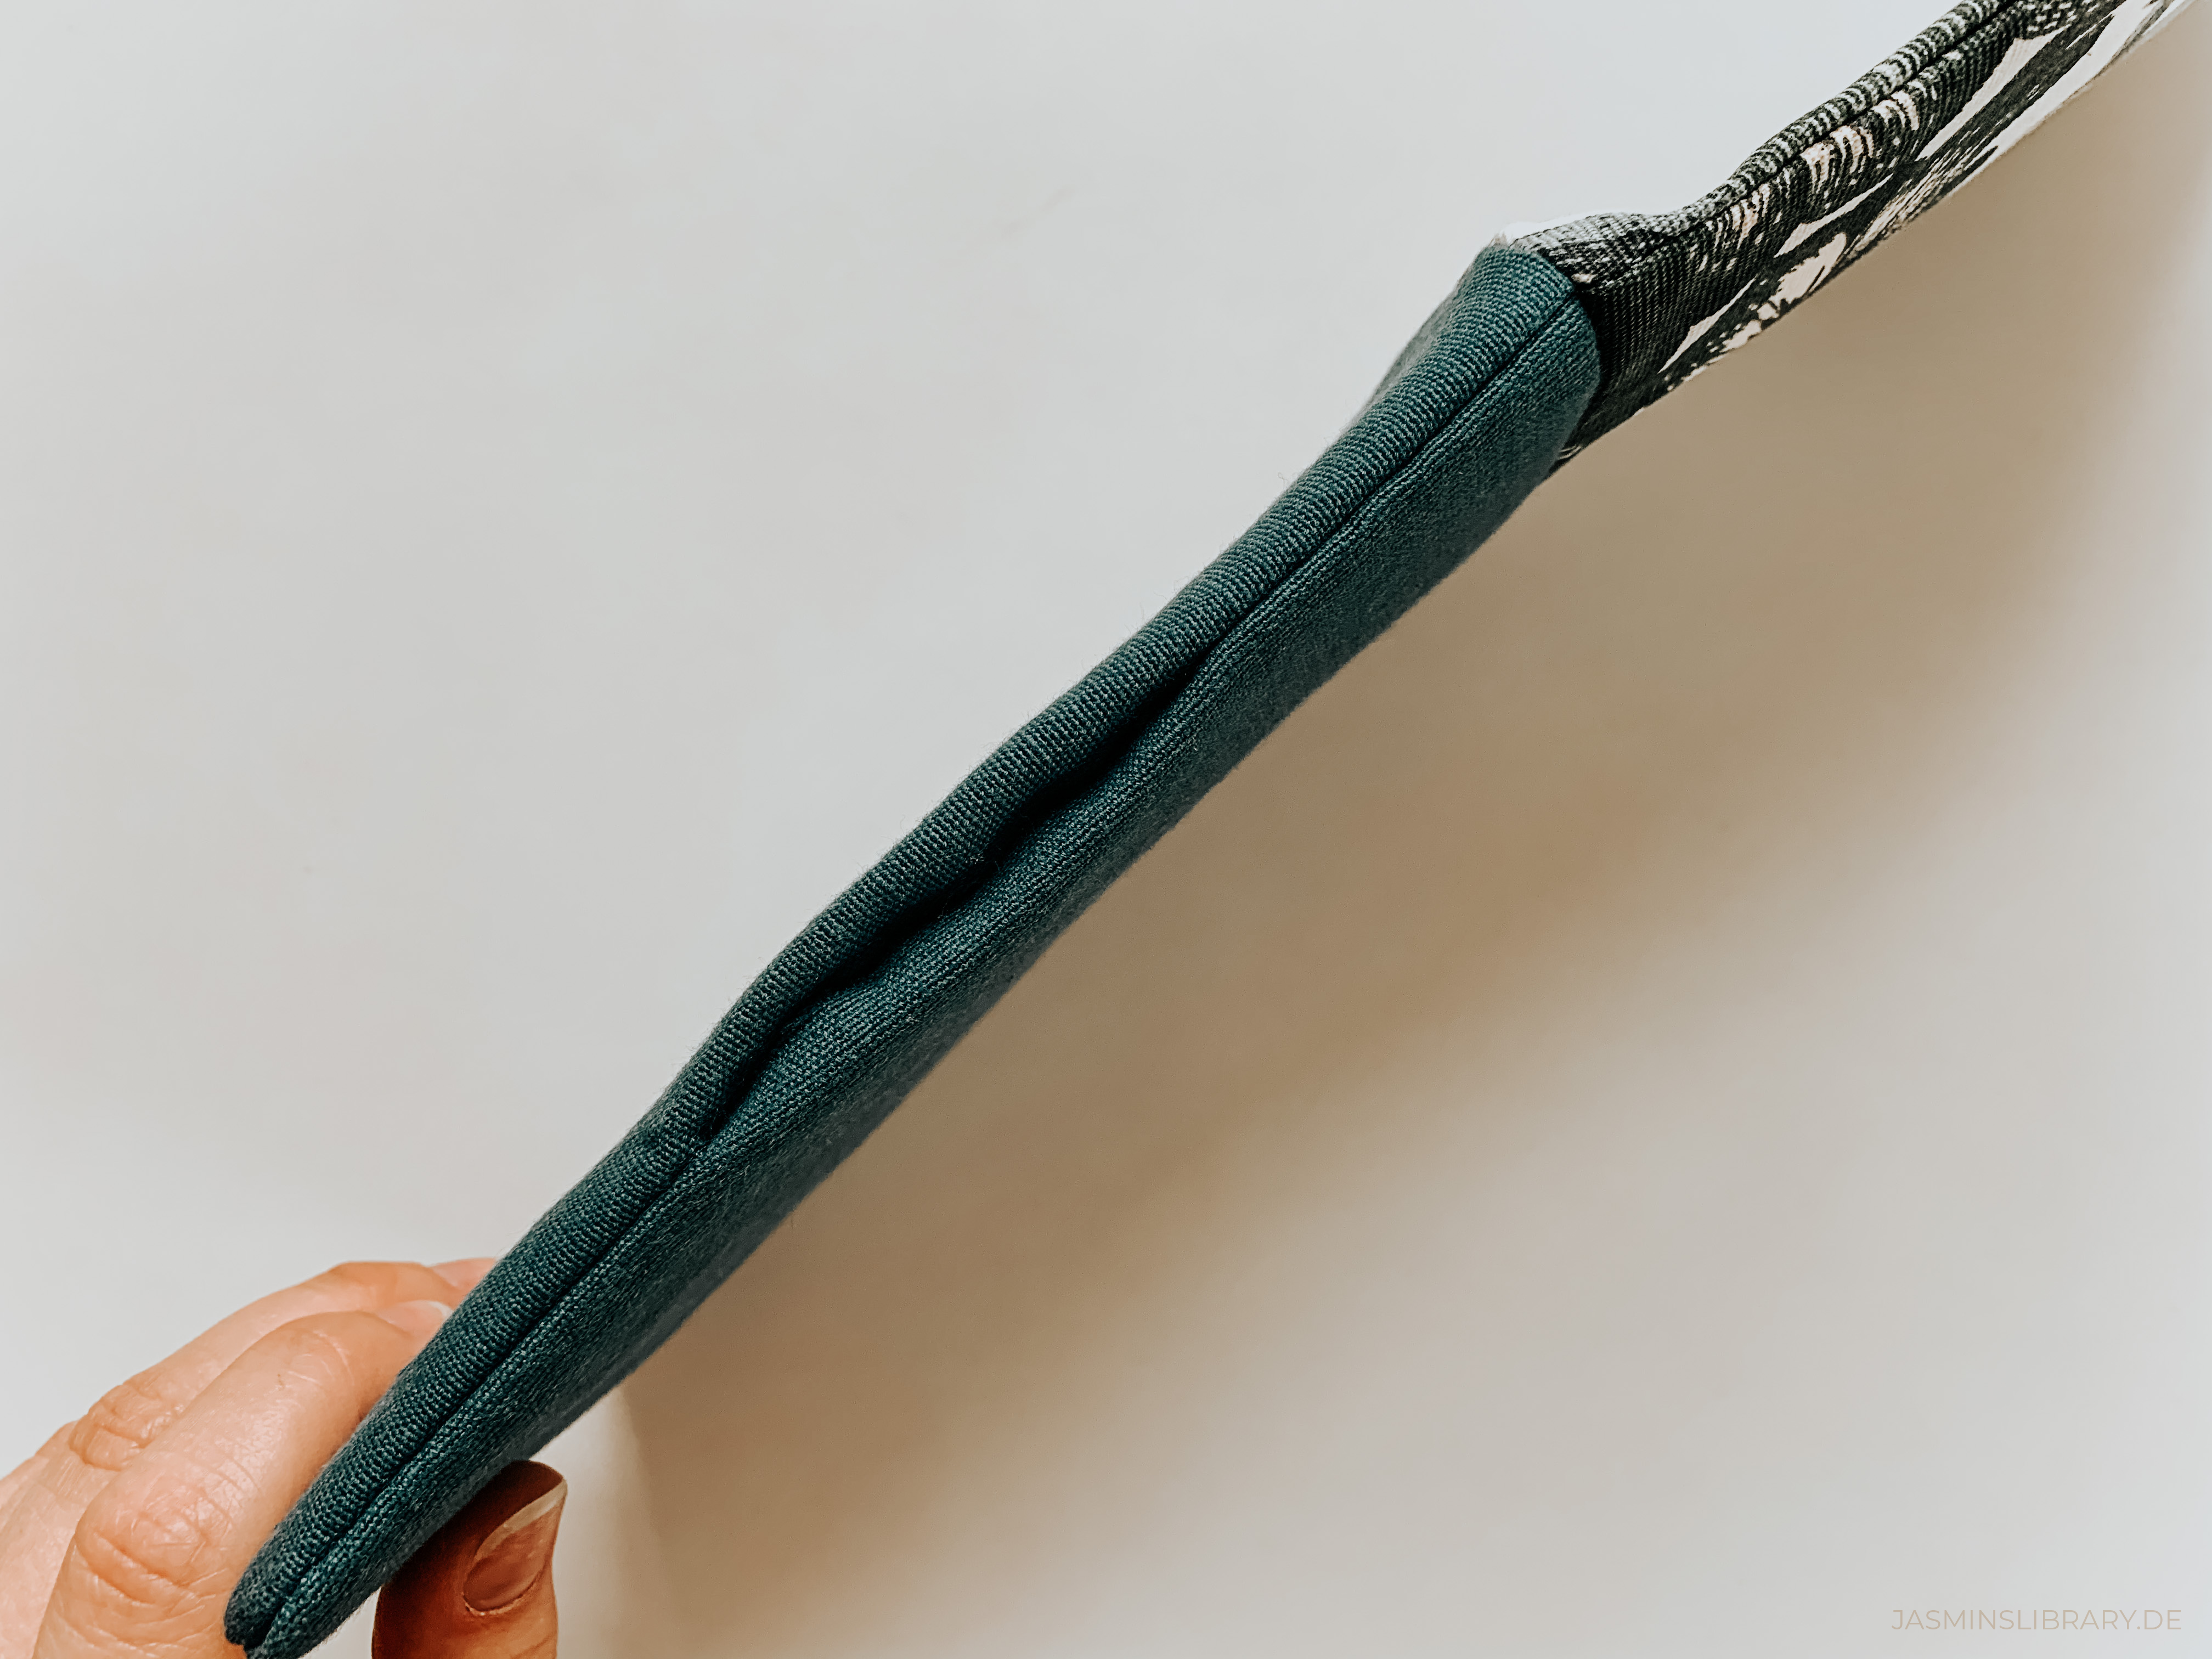
Now’s the time to iron your sleeve nice and crisp. Carefully iron all the edges to help them keep their shape and stay where they should be. Also, press the seams of the opening through which you flipped the fabric. This will help in closing it up in the next step.
Step 10:
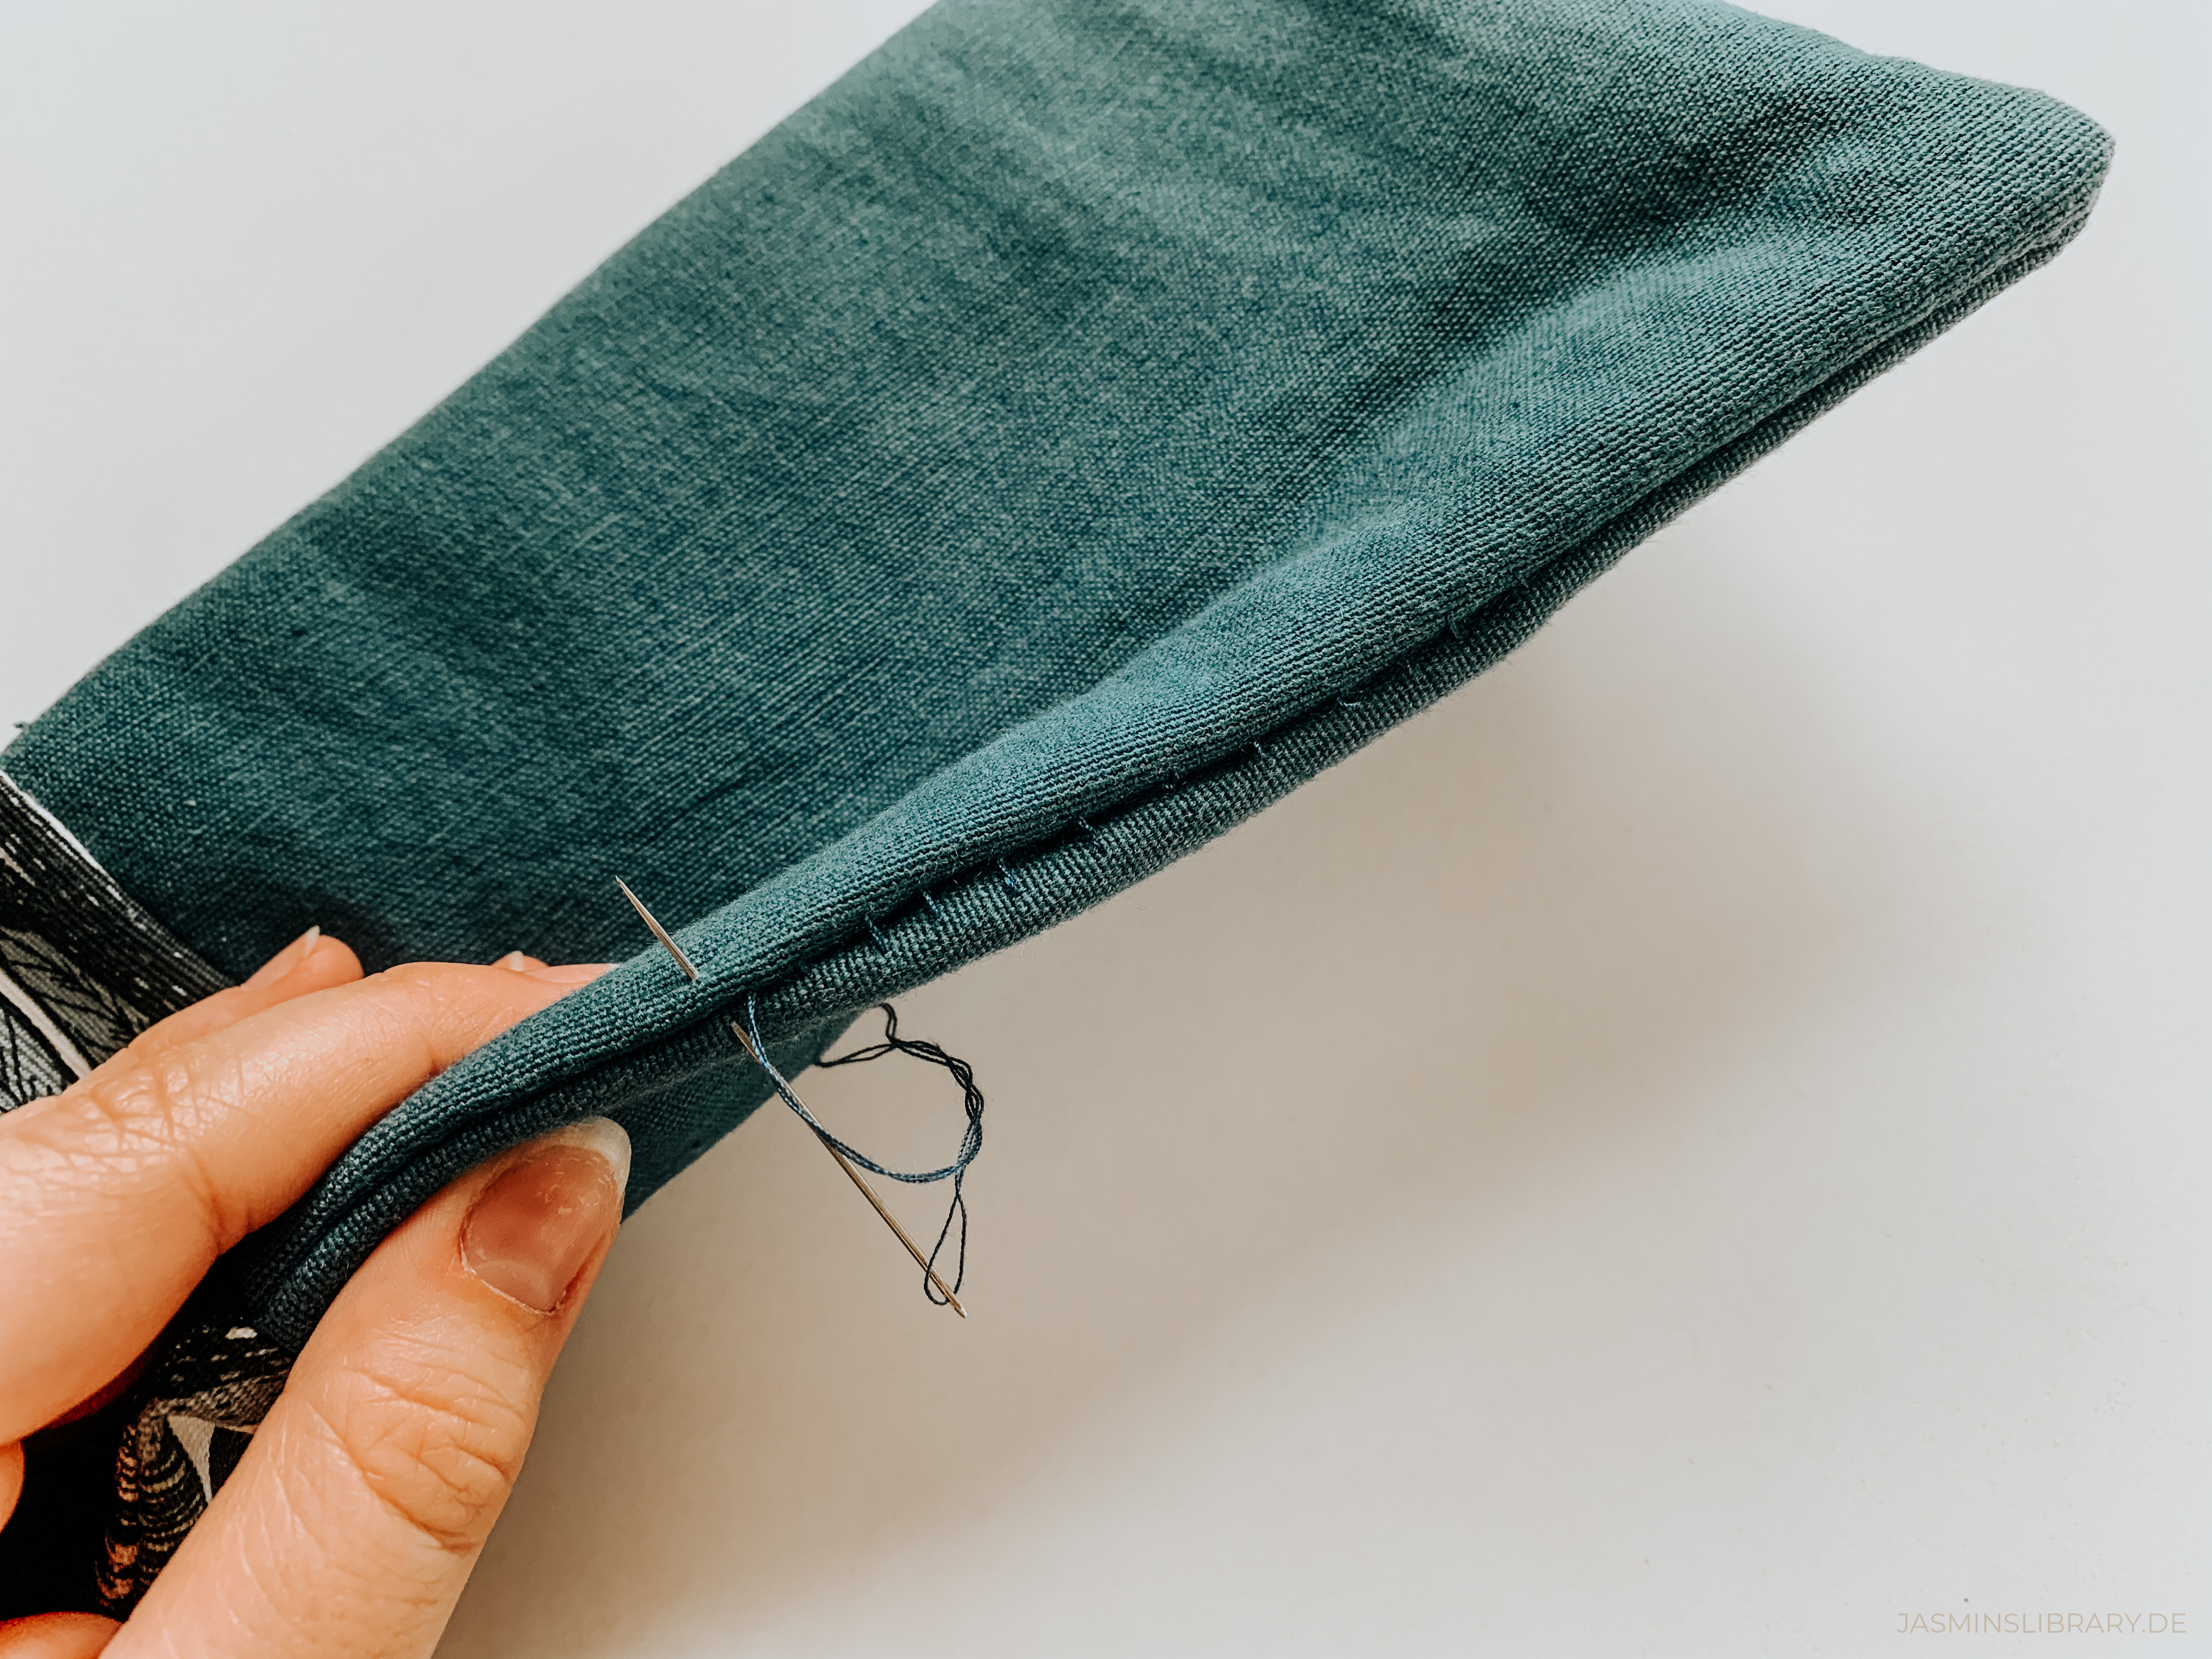
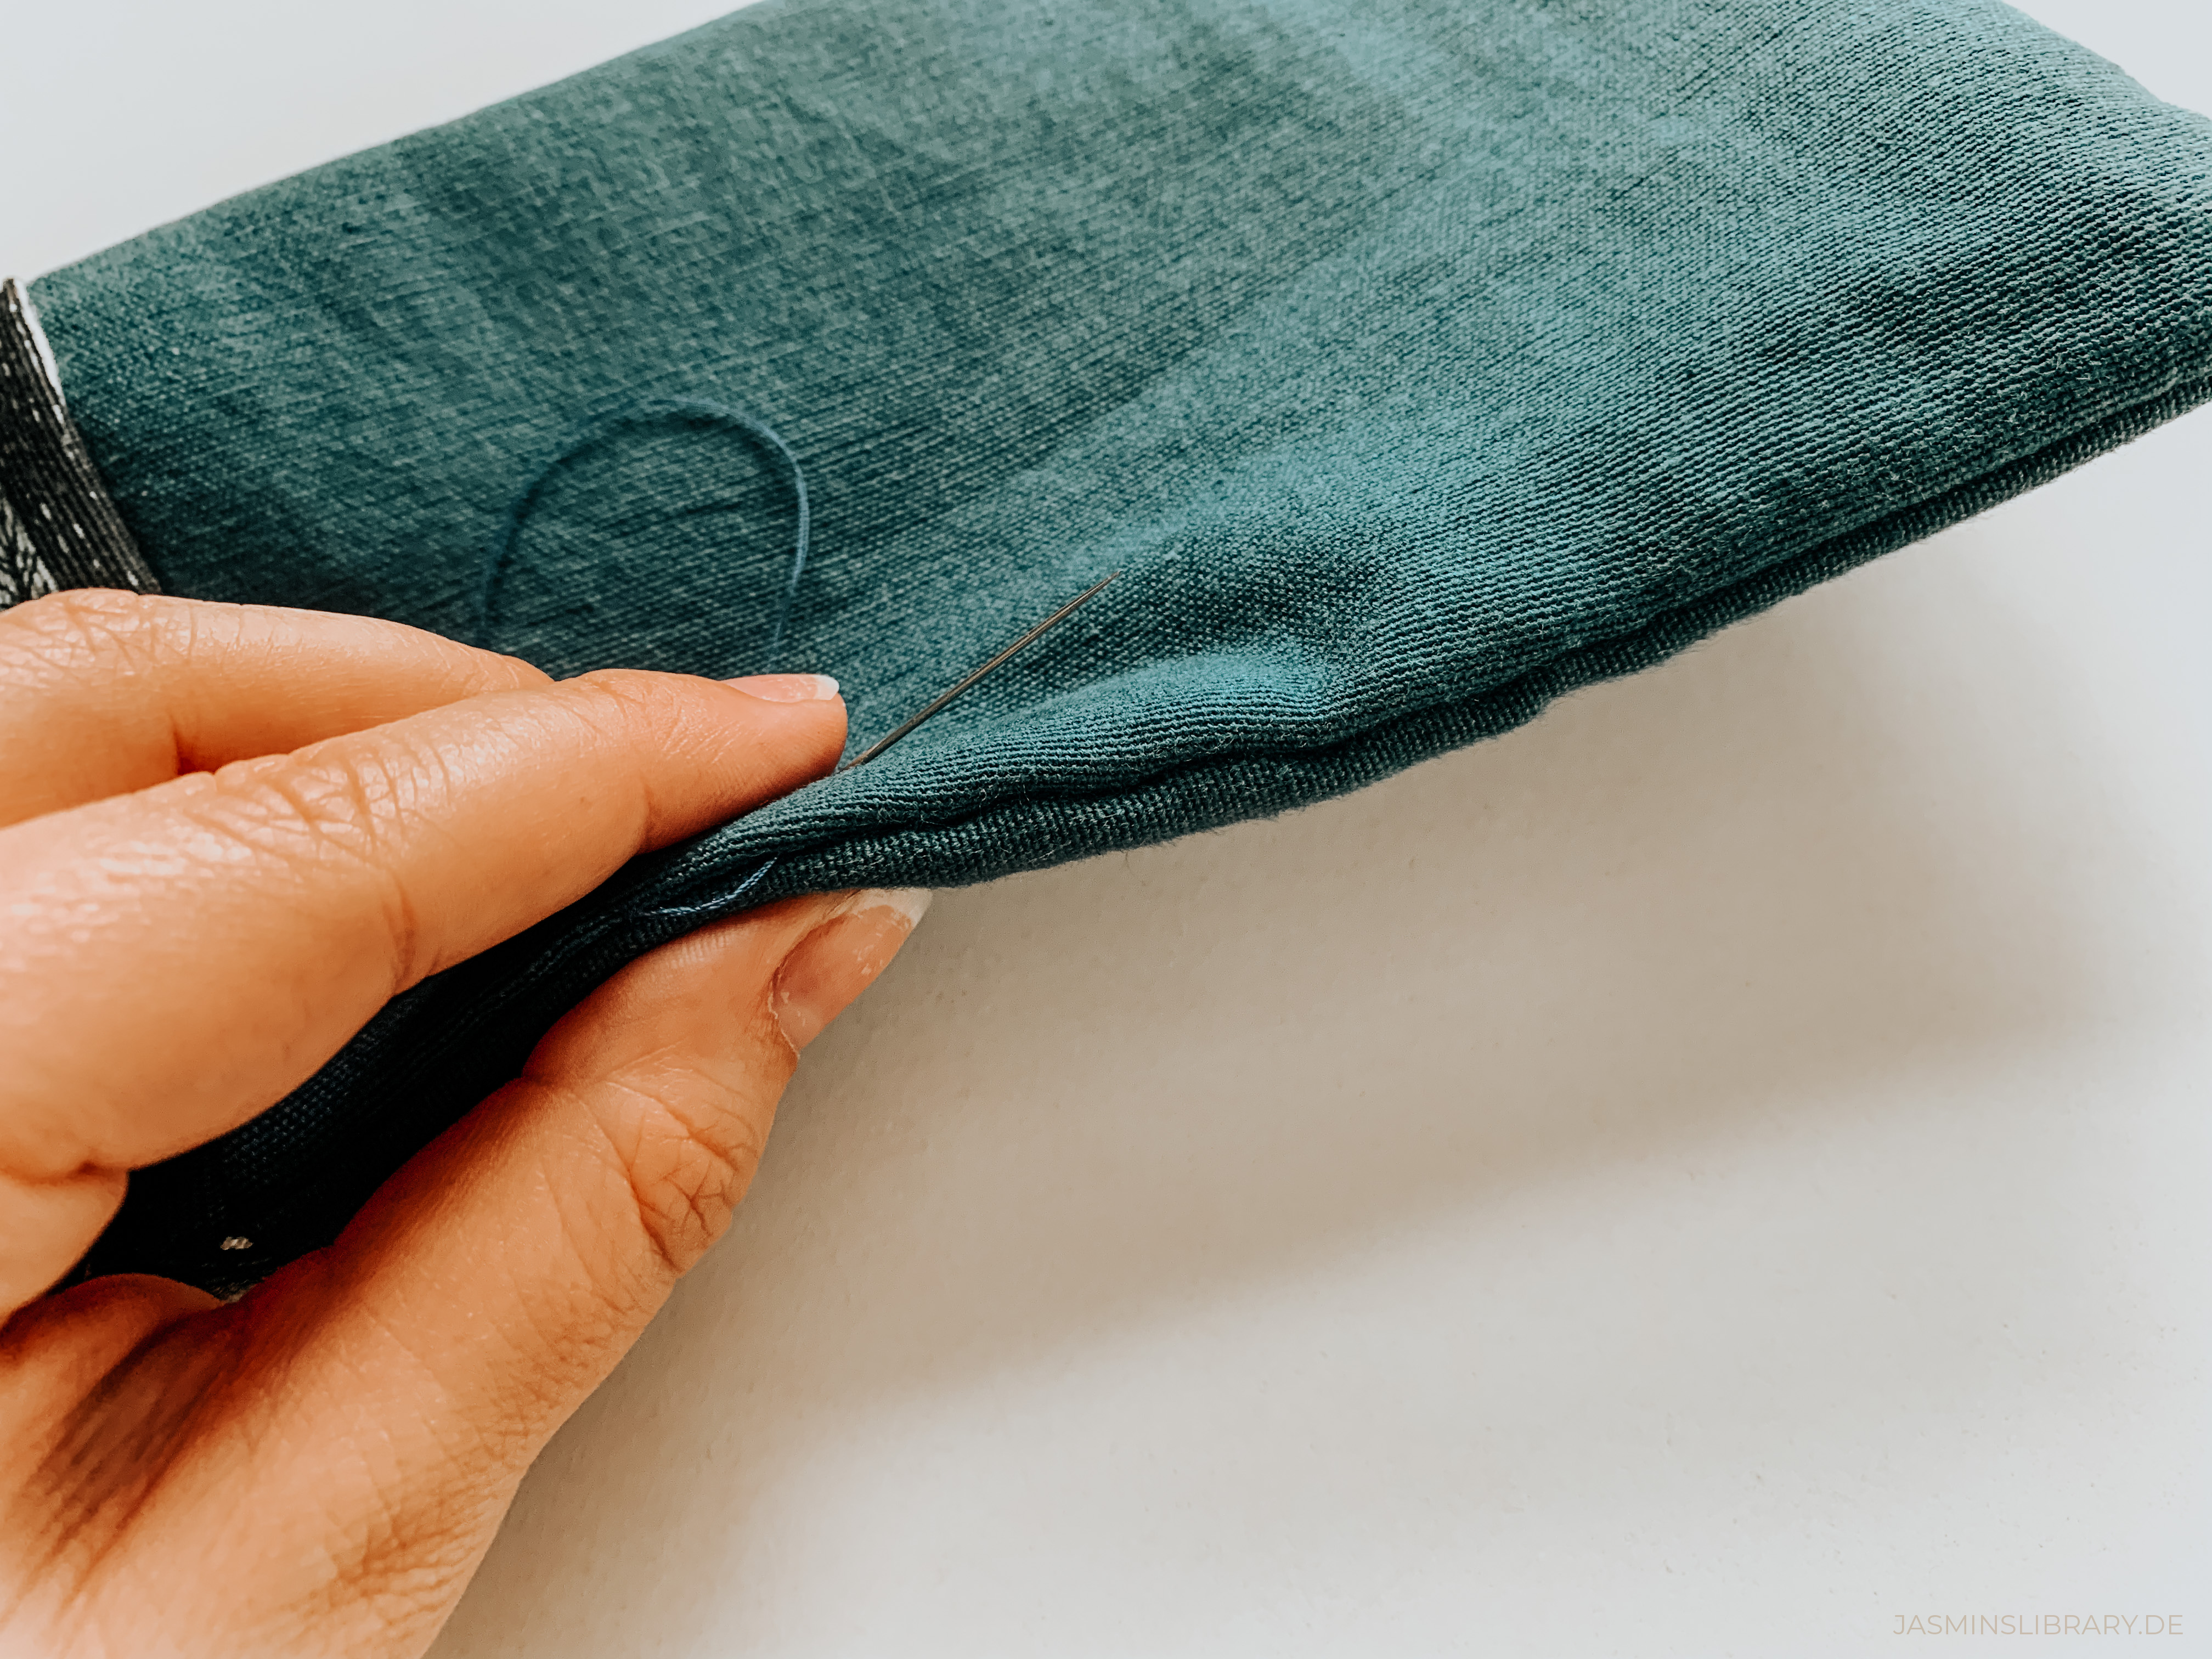
Close your side opening. You can do this with your sewing machine or by hand. I prefer doing this by hand, using a ladder stitch. This is an invisible stitch which helps in making your sleeve look even cleaner. But it’s totally up to you on how to close it!
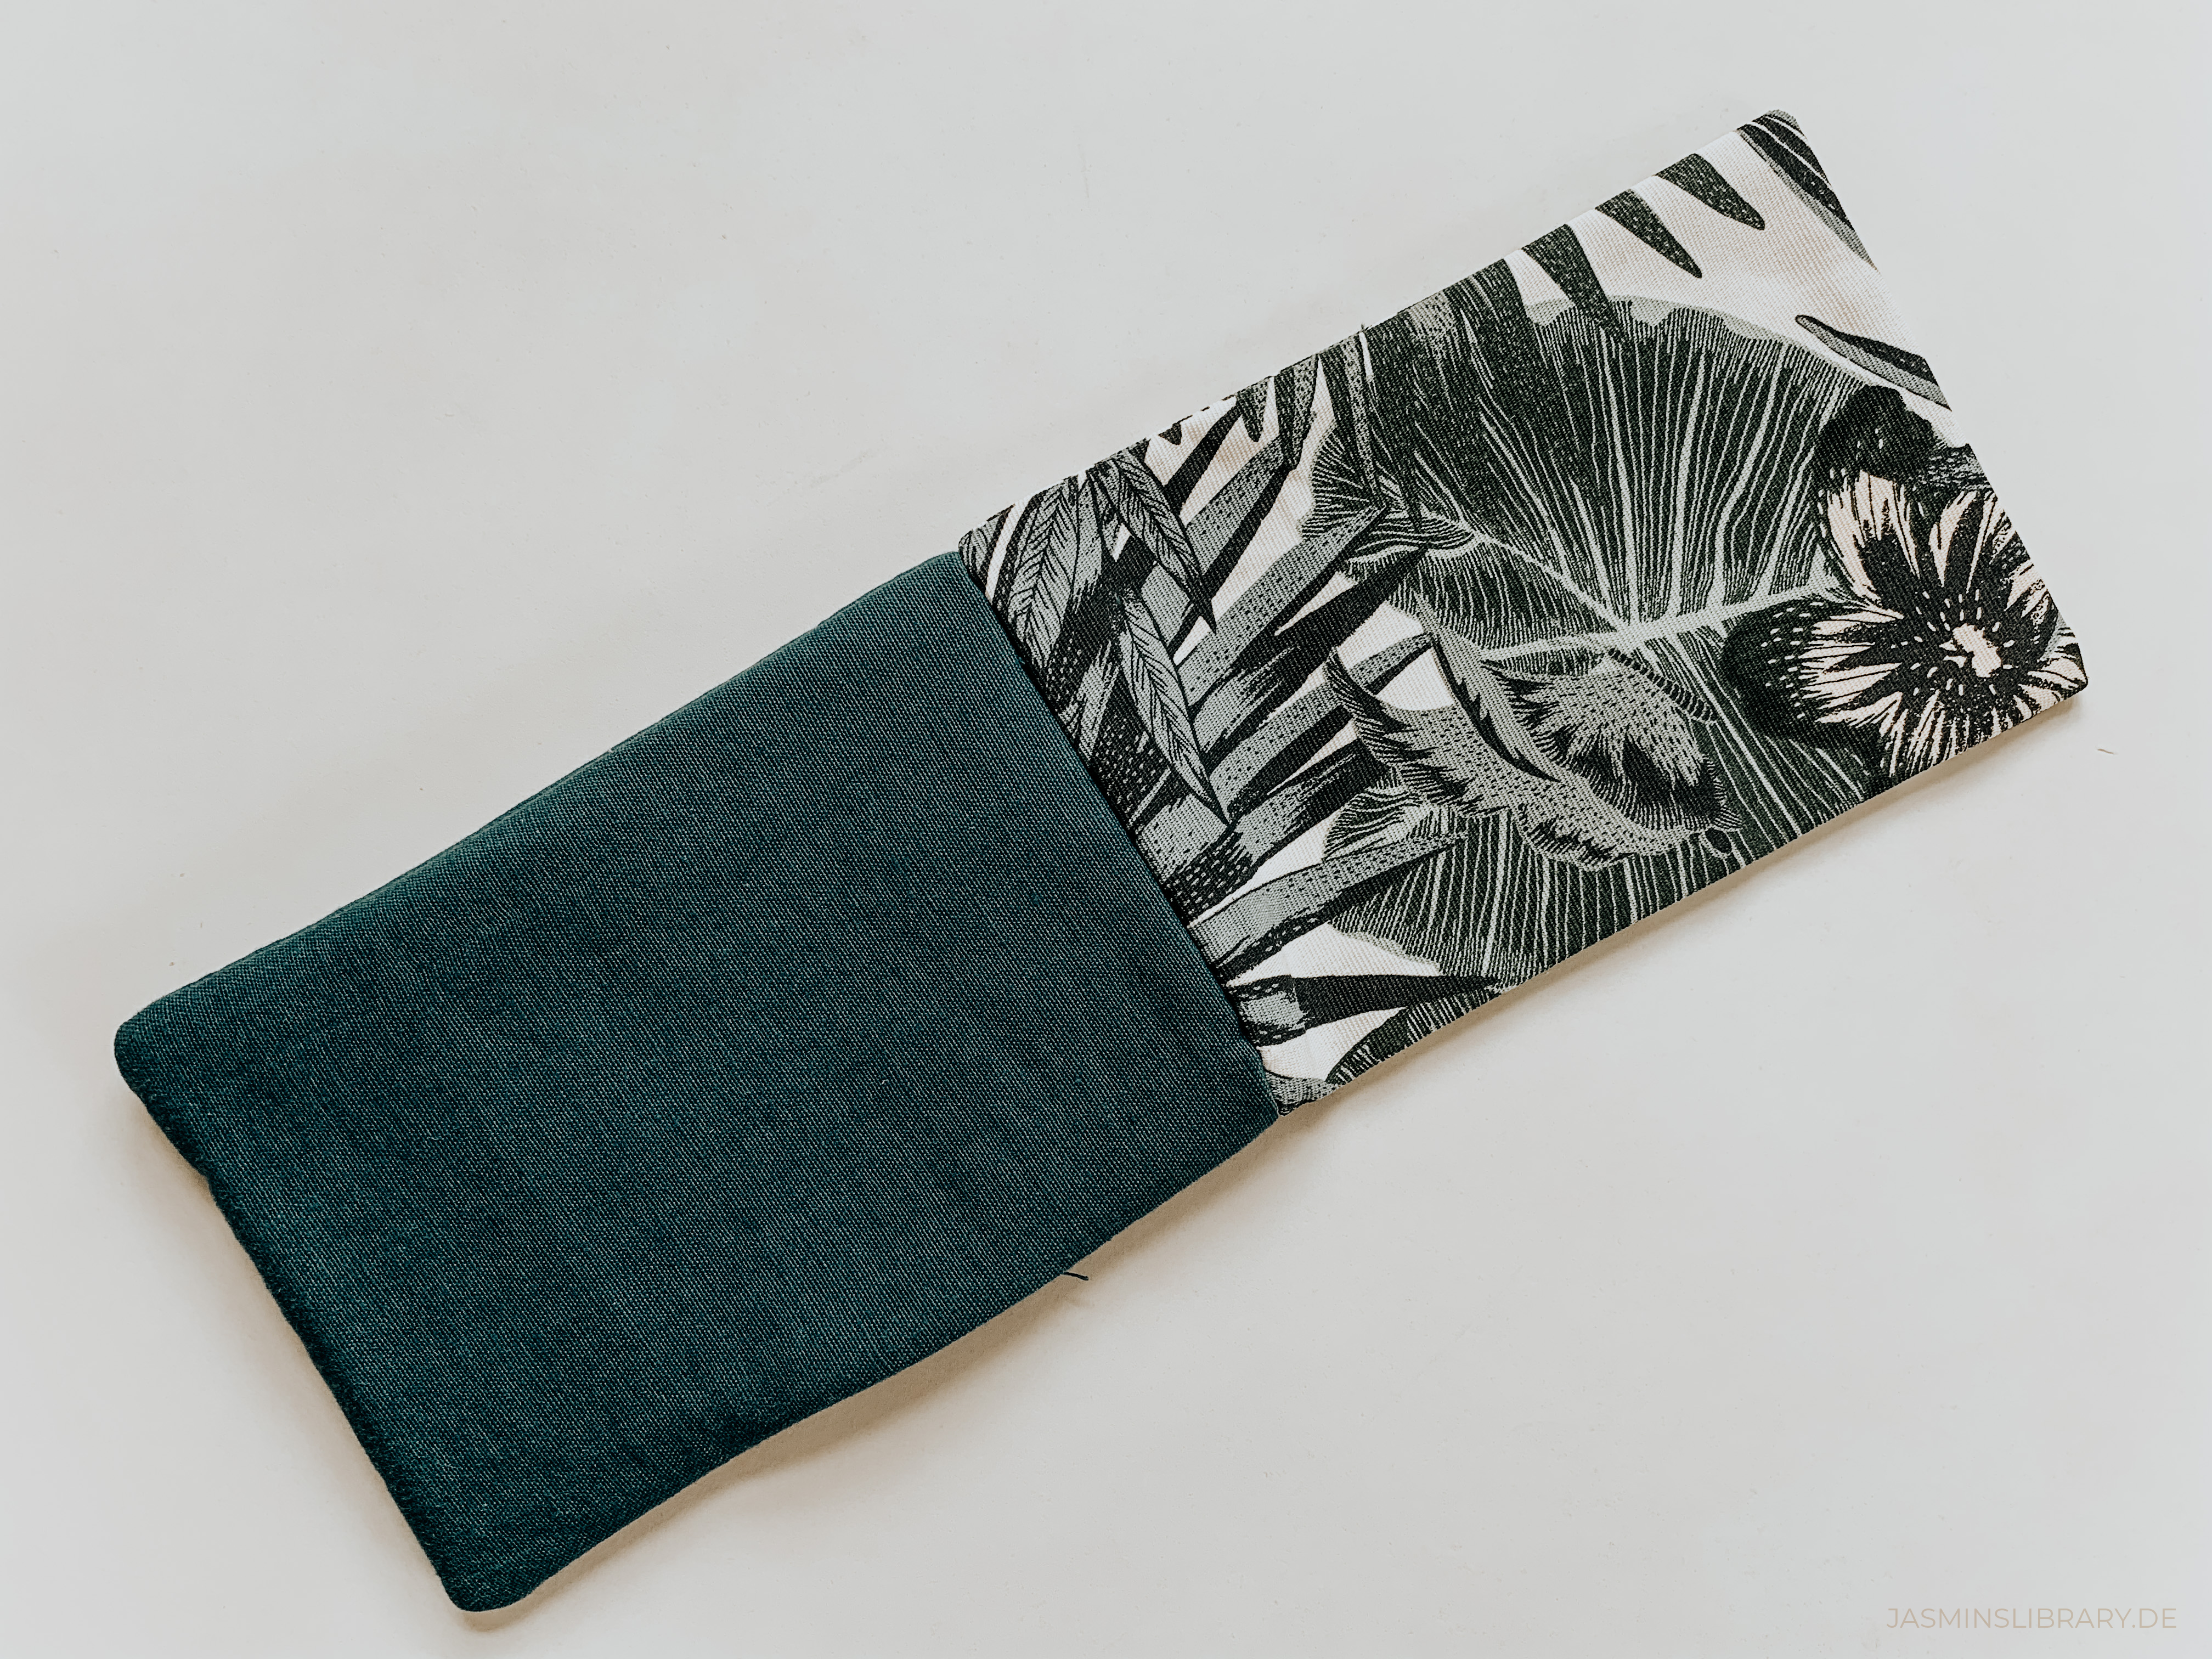
Step 11:
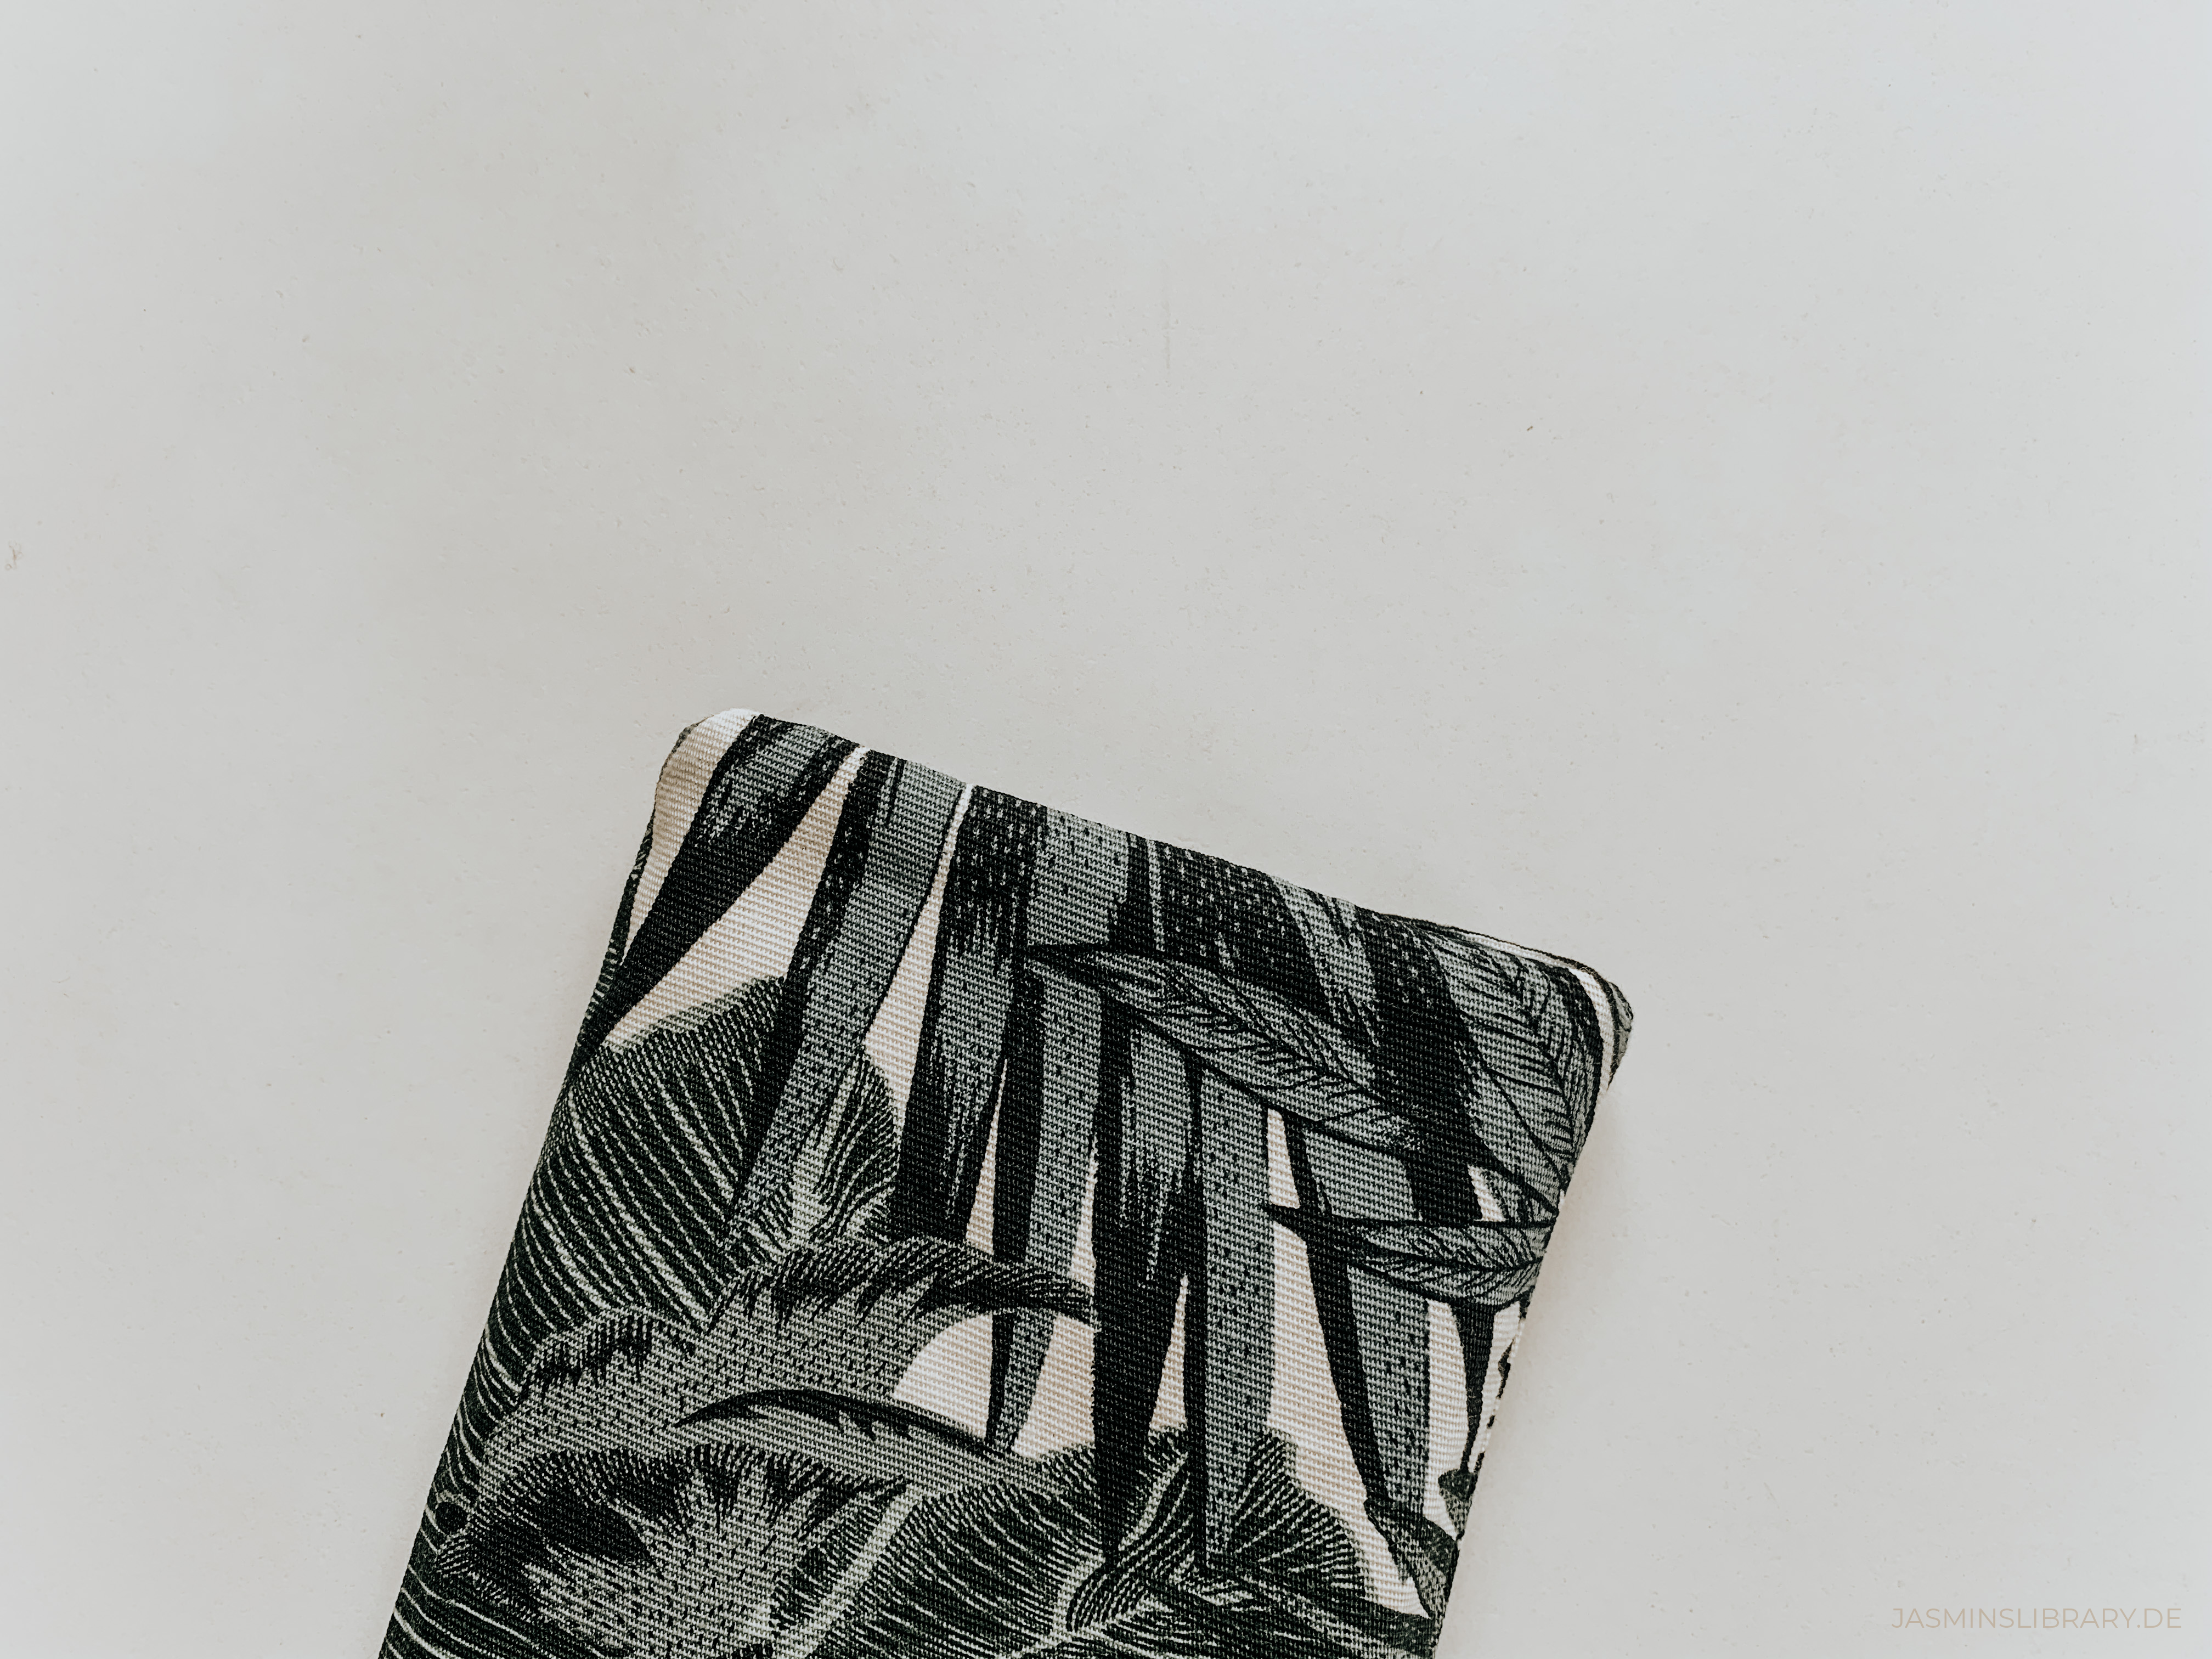
Now’s the time to assemble all pieces. Snuggle the inner fabric into the outer fabric to form your sleeve. Make sure everything is where it needs to be and the edges of the inner fabric are tucked closely into the edges of the outer fabric. Take a close look at the upper edge, as sometimes the rim doesn’t want to stay how you’d like it to be. Again, you can use your iron and press it down, if you want to.
Step 12 (optional):
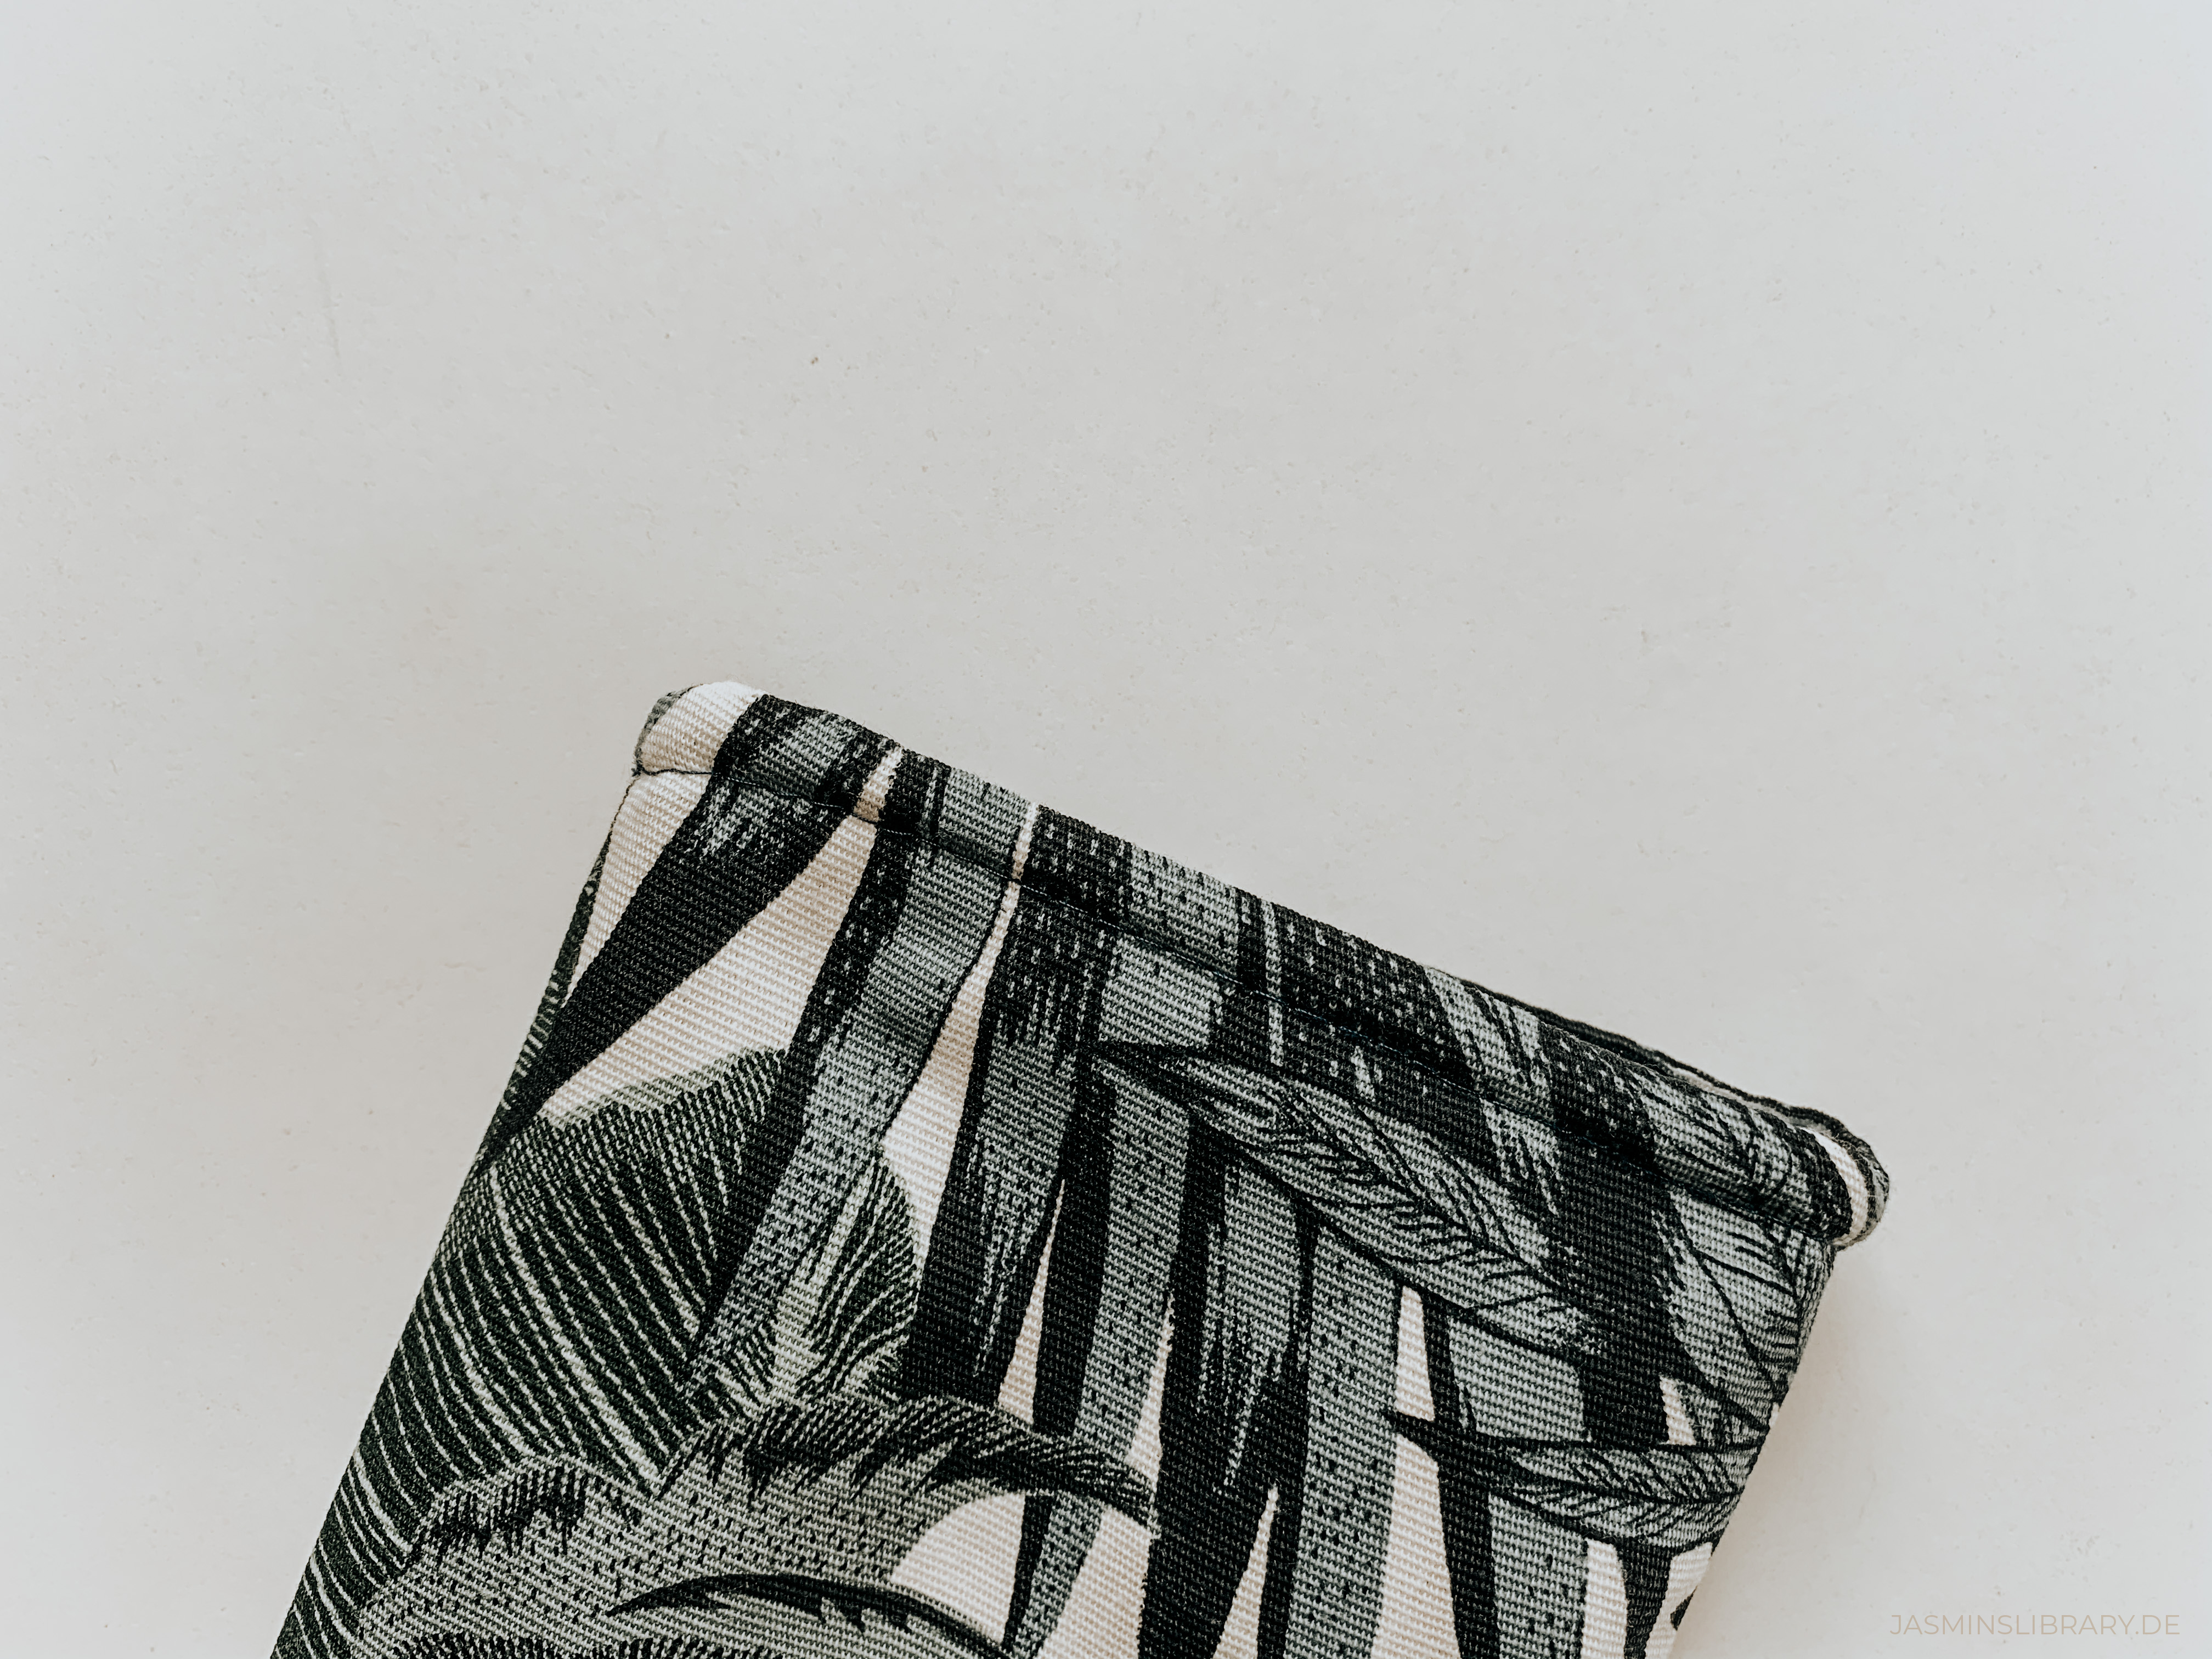
The last step is optional, as it gives your sleeve a finishing touch. You can topstitch the upper edge to make it look more refined (and helps immensely to keep the fabrics where they should be). But as I said, this is optional and you don’t need to do it!
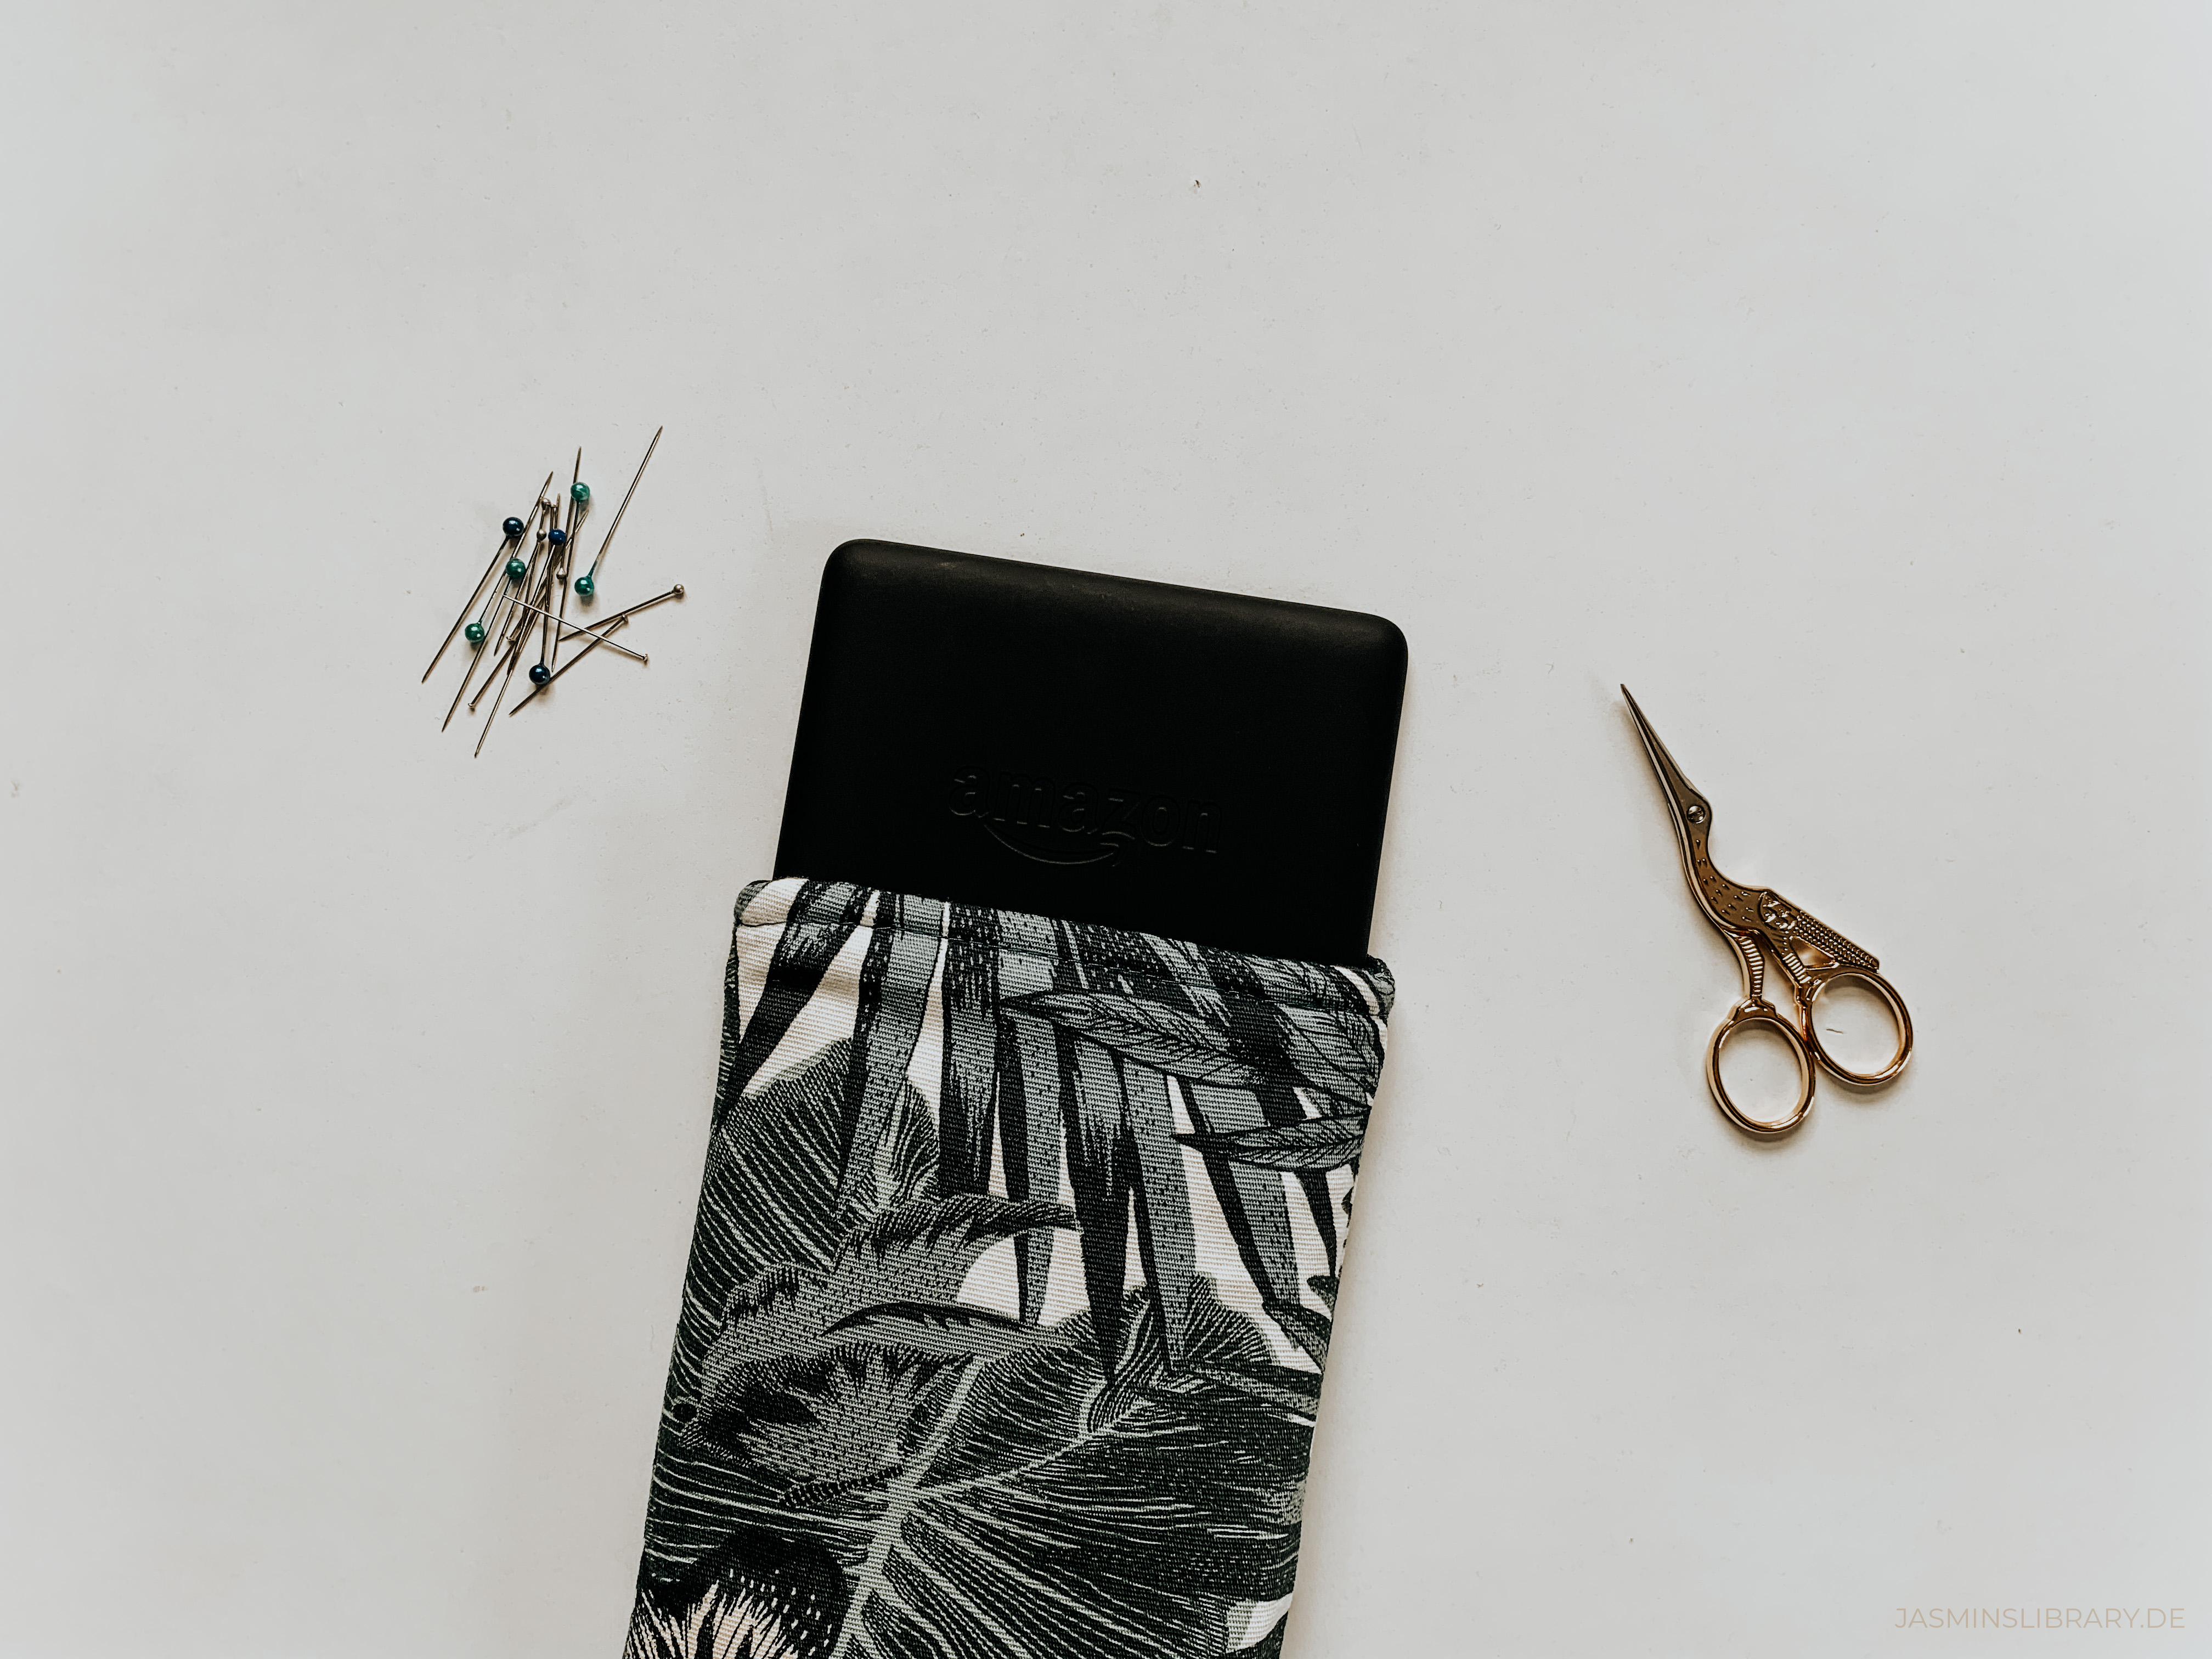
Congratulations, you now have your very own book sleeve to carry your darlings around. And even better – now that you know how to do it, you can make even more and overflow your home with them. At least, if you’re addicted as much as I am. Honestly, I really enjoy sewing these book sleeves and I can’t wait to make more of them. They are wonderful for yourself, but also make great gifts for other readers!
Tips and Tricks:
– You can use any fabric you like, but I’d at least advise you to use a firm fabric and one that’s not elastic. The latter just complicates the process if you’re a beginner while the former helps you!
– If you have, use pinking shears. They prevent the fabric from fraying too much. If you don’t normal scissors are doing the job as well.
– Pay attention to which kind of wadding you buy. Don’t use one that’s too thick, because your sleeve will get bulky in the end. Keep also in mind that the thicker the wadding, the more fabric you’ll need to make up for the bulk, so your book/device has enough space!
I hope you enjoyed this tutorial and maybe use it to make your own book sleeves. If so, please let me know about it. Leave a comment, tell me on Instagram or Twitter or even tag me in case you post your creation online. I’d love to see your creativity taking shape! If you have any questions or need help, please feel free to contact me as well. I’ll try to help you with your project as fast as possible.
Comments (2)
Margaret
June 19, 2020 at 18:17
This is great!! I’ve always wanted a book sleeve for my kindle, now maybe I’ll finally get around to making one lol
Kat @ Kat from Minas Morgul
June 21, 2020 at 12:01
Great tutorial! I’ll probably try to do it by hand because I don’t have a sewing machine. I crocheted a sleeve for my kindle last year and made a book bag in a sewing course but I can’t fit every book in those, so I guess I’ll have to make another one and I shall use your tutorial 🙂